360° Planet Tutorial in Photoshop
We all have seen those cute little planet pictures with only a skyscraper or single tree making it pop. This tutorial is going to show how to create your own little planet just like that!
01. Open a picture that has a clear sky and some land that also has some clear space. The picture below is perfect, but it can also be a land with skyscrapers or anything of such. Just as long the picture is more or less the same from the left and right.

02. Now straighten the horizon. It is not needed to straighten it from the middle of the picture, but the left and right side of the land should be on the same level because they need to be able to connect with each other. Press Ctrl (Command) + T to activate transformation to rotate the image accordingly.

03. Also make sure the left and right side are more or less the same for them to match as good as possible. The more you’ll take care of it now, the less work you’ll have when the planet is created.

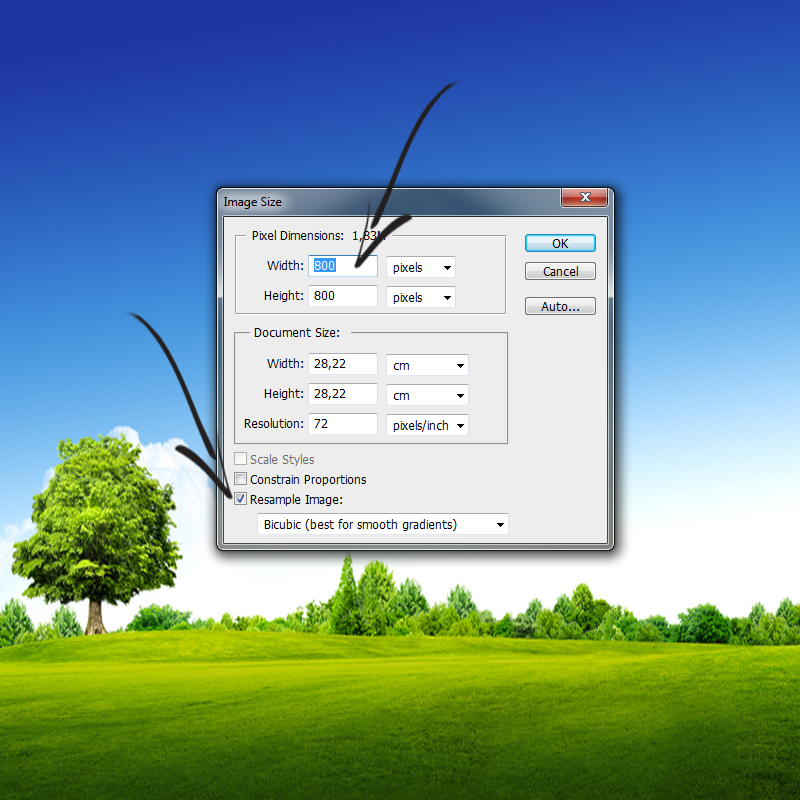
04. Now its time to make the picture into a square. Go to Image > Image Size. There set take out all the check boxes and only leave tick to Resample Image. Then set the width and height exactly the same. Press OK.
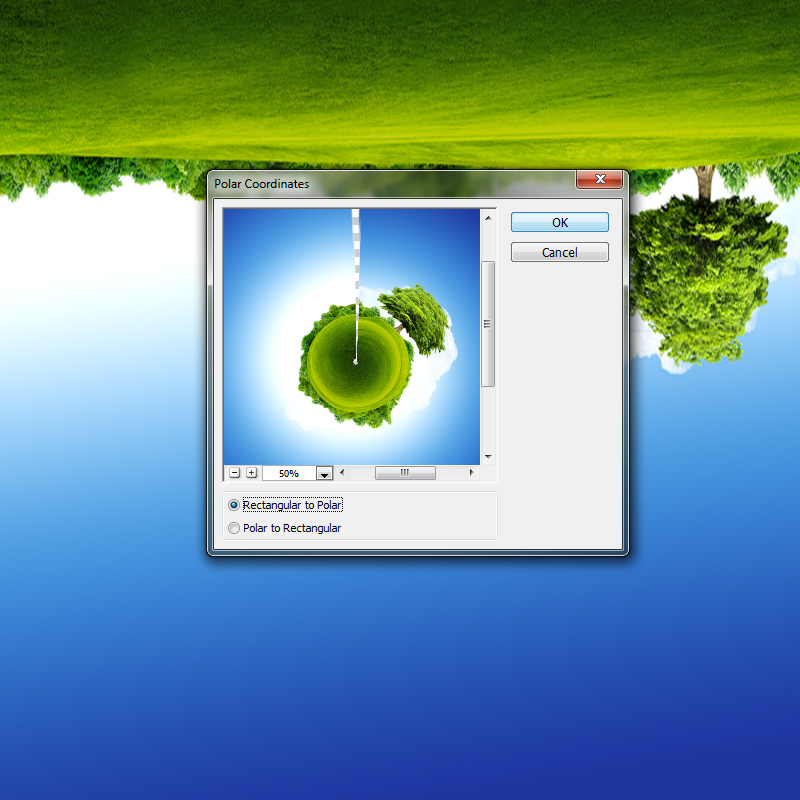
05. Flip the picture upside down at Image > Image Rotation > 180 degrees.

06. Now its time to create that planet. Go to Filter > Distort > Polar Coordinates. A new window will open. Press OK.
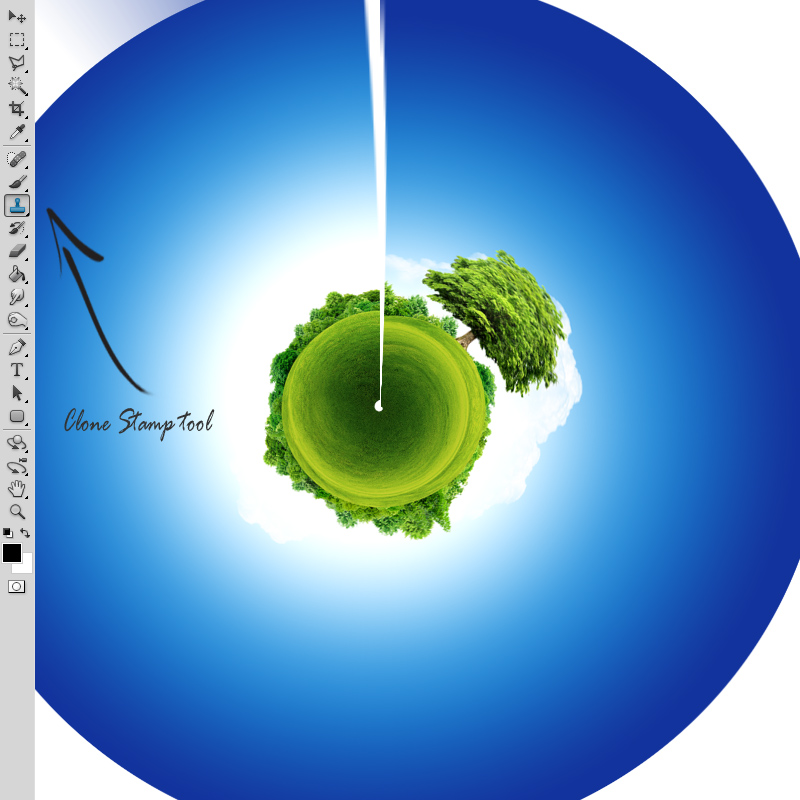
07. Not all pictures connect perfectly. Though, some do. To fix any mismatch problems, take the Clone sample tool and start cloning and pasting colors and textures around. Hold Alt down to take a sample and just click to add it on the new place. Ctrl (Command) + Z to undo.
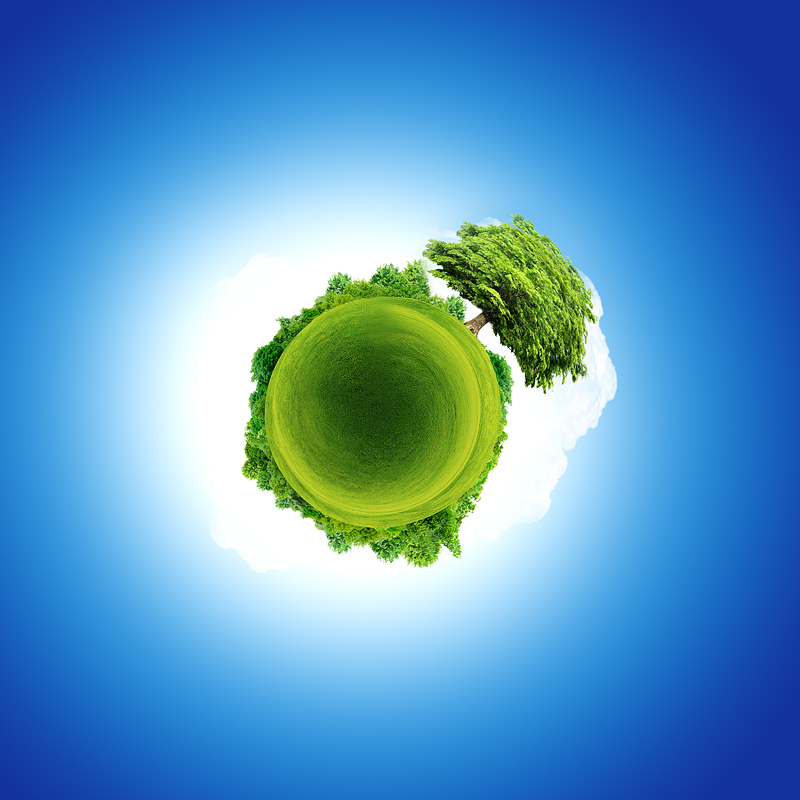
08. And your small planet is done!