Create a Cool Text Style With Wooden Sticks in Photoshop
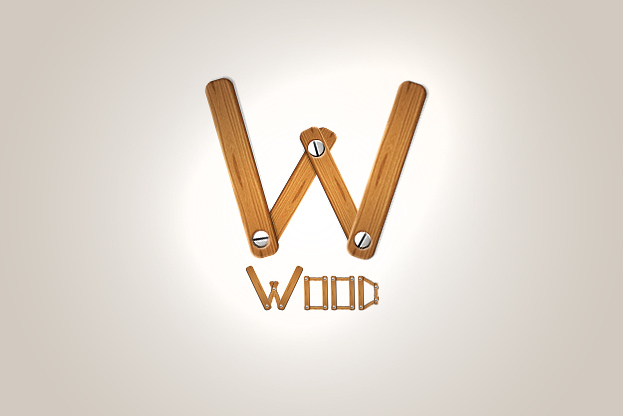
This tutorial will show you how to create a cool text style using self made wooden sticks in Photoshop.
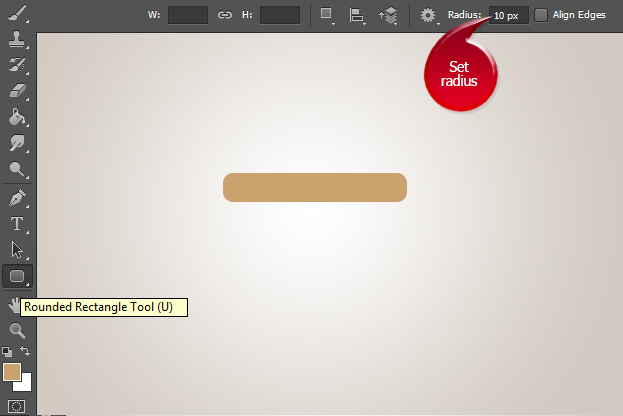
01. Create a new document and select the Rounded Rectangle tool from the toolbar. Then set the radius to 10 or more for very round edges. Draw your basic stick shape.
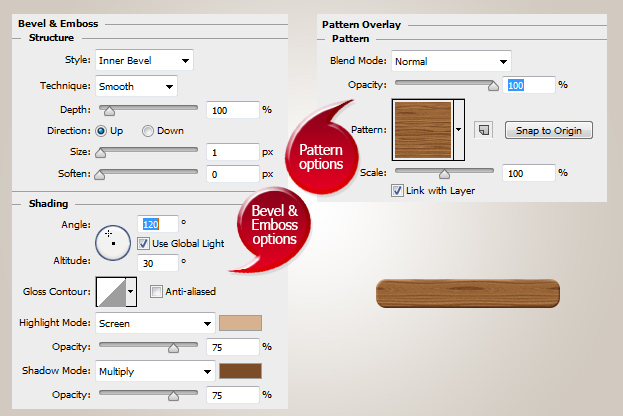
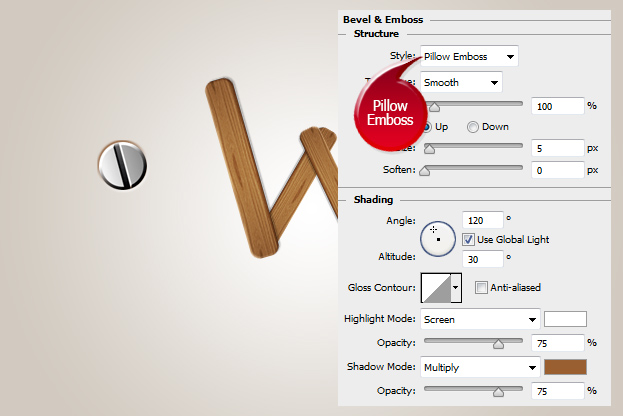
02. Go to Layer > Layer Styles > Bevel and Emboss and set some settings so your stick would look a bit more round on the edges. Then move on to Pattern Overlay and set your stick a wooden pattern.
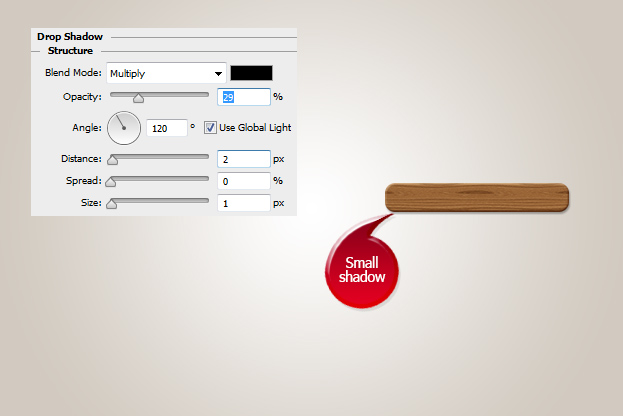
03. Move to the Drop Shadow and add a very small transparent shadow under your shape. Press Ok.
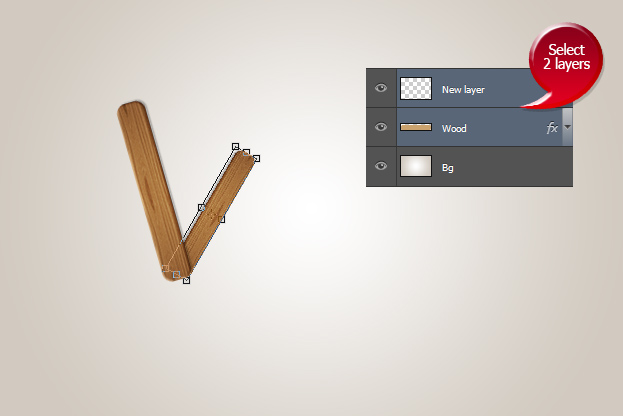
04. Now create a new empty layer (Layer > New > Layer) and select your wooden stick and the new layer. Press Ctrl (Command) + E. Now it’s time to start creating letters. To turn or resize your sticks, just press Ctrl (Command) + T or go to Edit > Transform > Scale. To duplicate your layer, just press Ctrl + J or go to the layers panel, select the layer you’d like to duplicate, right click on it and choose Duplicate layer.
05. When you have created your letters or even a word, then open a picture of a screw or cut it out from any picture. When its nicely round and cut, go to Layer > Layer Styles > Bevel and Emboss and set a couple of settings around the screw. Press Ok.
06. Now just place the screws on the places where different sticks connect and your wooden stick text style is ready to show off!
