Create a Dark Futuristic Button in Photoshop
This tutorial will show you how to create a futuristic button in Photoshop.
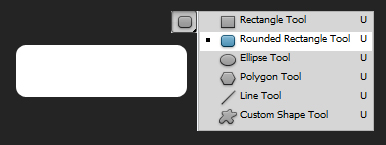
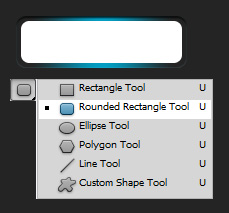
01. Make a new file, choose a darker background and using Rounded Rectangle Tool create your main button shape.
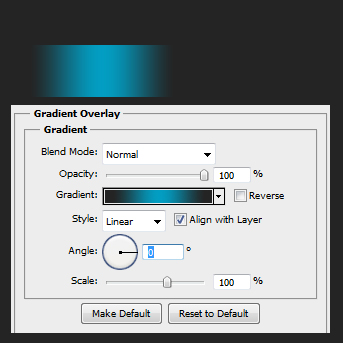
02. Double click your new shape, go to Gradient Overlay, set the angle to 0 and choose the colors – edges being the same with your dark background and the middle a neon blue, green, pink, yellow or any other.
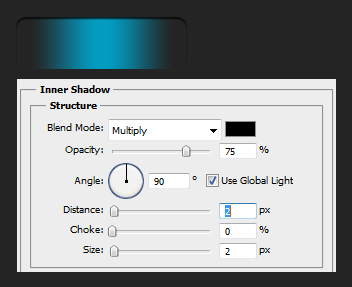
03. Then go to Inner Shadow, Angle to 90, Distance 2, Size 2.
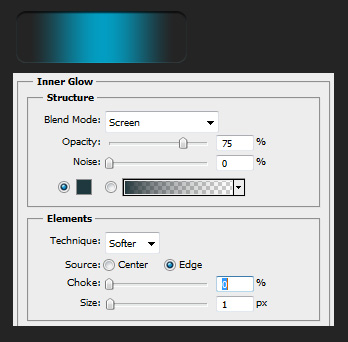
04. The go to Inner Glow and set a small glow to lower part of your button. For that, set the Choke to 0, Size to 1 and color the same as your neon color is but lower the opacity a bit so it wouldn’t be that strong. Press OK.
05. Now take the Rounded Rectangle Tool again and create a smaller shape inside the base of your shape.
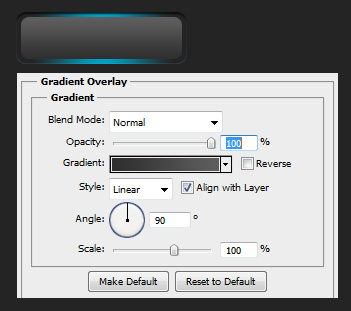
06. Double click the new shape, go to Gradient Overlay, set the angle to 90 and color from one shade to another.
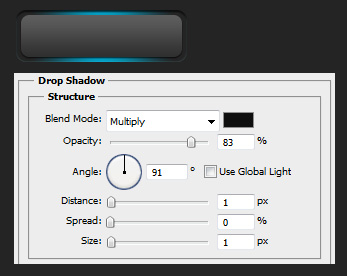
07. Then go to Drop shadow and add a small shadow under the shape.
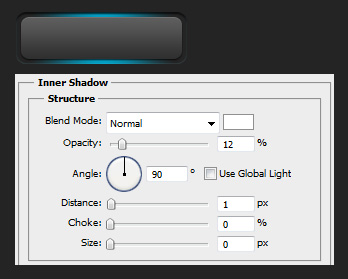
08. Now go to Inner shadow and add a small light shadow for the upper part of the shape.
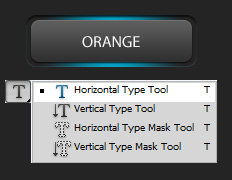
09. Now take the Type Tool and write your button text.
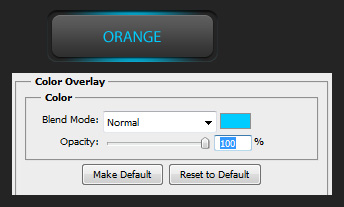
10. Double click the text and choose the same neon color for your text.
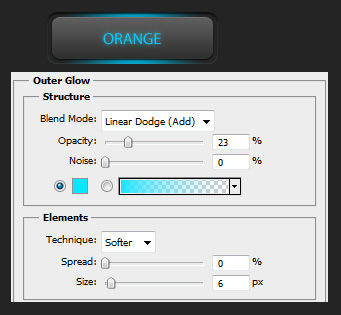
11. Then go to Outer Glow and set the same neon glow to your text.
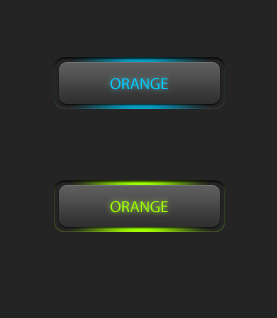
And your button is ready! Also try out other colors.
