Digital Animal Fur Photoshop Tutorial
This tutorial will show a beginner’s guide to animal fur. With this technique you can create different shapes or animals with very simple steps.
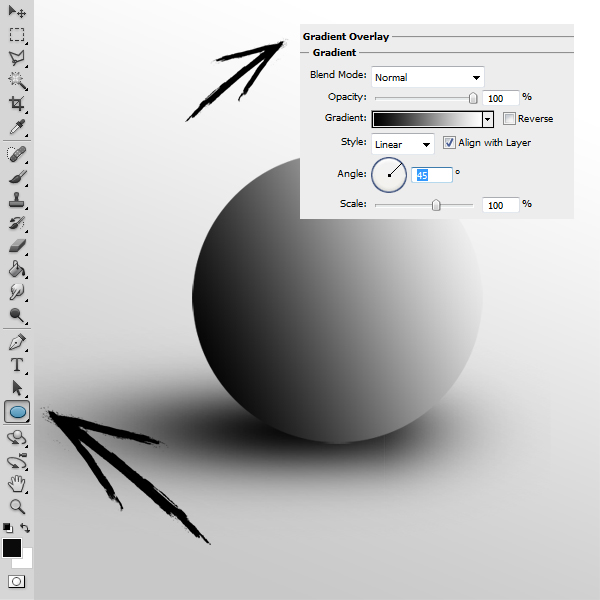
01. Open a new document. Fill it with any color, gradient or background. (Optional step:) Then create a new layer (Layer > New > Layer) and create a small shadow with brush tool. Now, select the Ellipse tool and make a round shape that represents the body of the animal or just shape. Give the shape a gradient of any color at Layer > Layer Style > Gradient overlay and press OK.
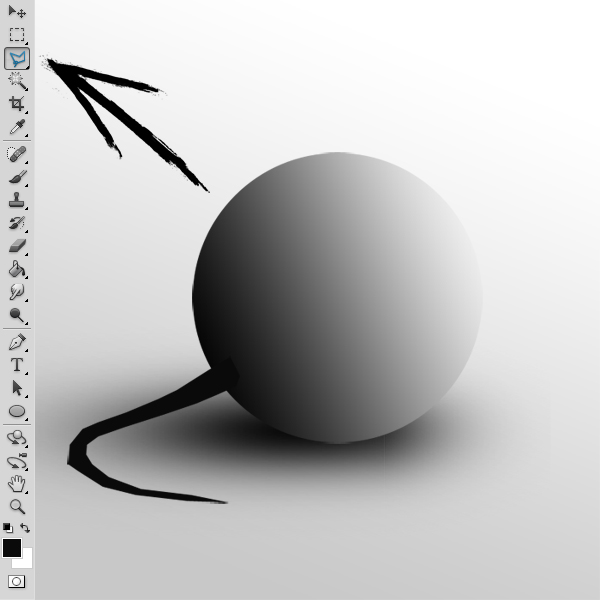
02. You can also add other elements like ears, tail, paws etc. For that there are many different ways – either take one of the Lasso tools and draw it, then fill it with color or create another shape. Either way, the shape does not have to be drawn perfectly as the tail in this tutorial also has some sharp edges. Now select all of the actual shape layers (tail and ball, NOT the shadow or background) and click Ctrl (Command) + E. Like this they get merged into one shape.
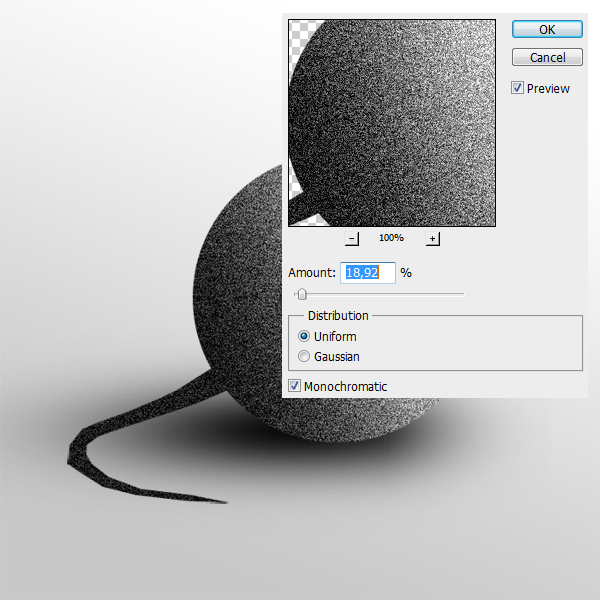
03. Now when its all one shape, go to Filter > Noise > Add Noise and add a generous amount of noise on your animal.
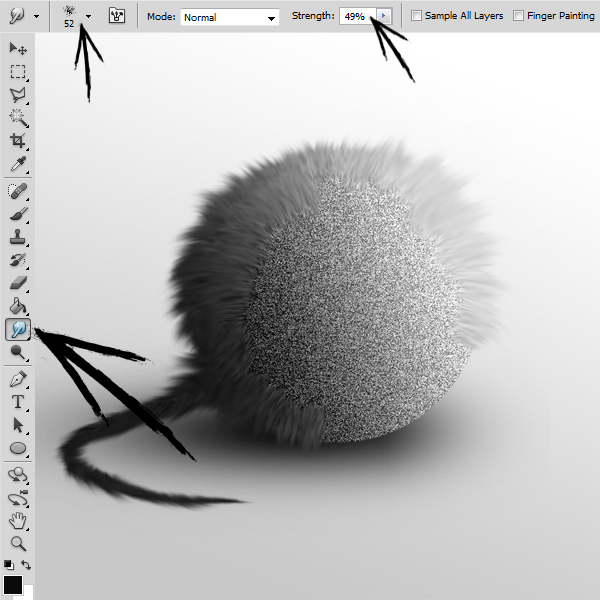
04. Now the real fun starts but first some settings. Select the Smudge tool, set its brush to grainy texture and Strength to 45%- 55%. Now start dragging with small strokes around the outer EDGES of the shape from inside to outside. It is important to start around the edges first.
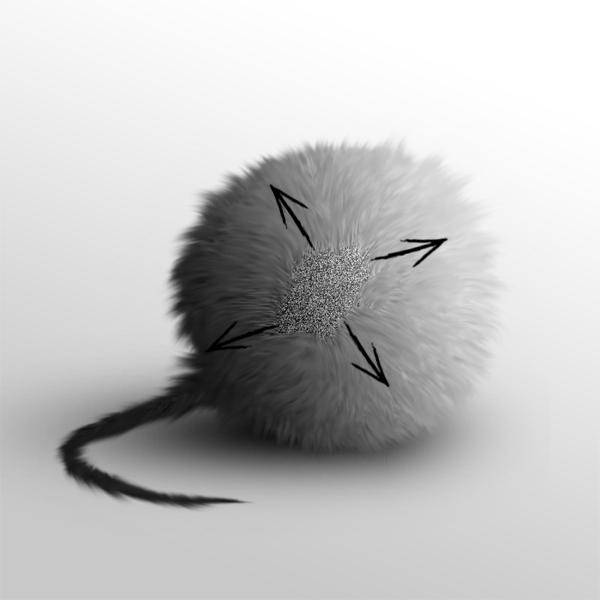
05. If you have done all the edges, move a bit more inwards and do the same – from inside to outside. Also change the angle a bit where needed.

06. Bit by bit move more and more inwards just to drag little pieces outside.
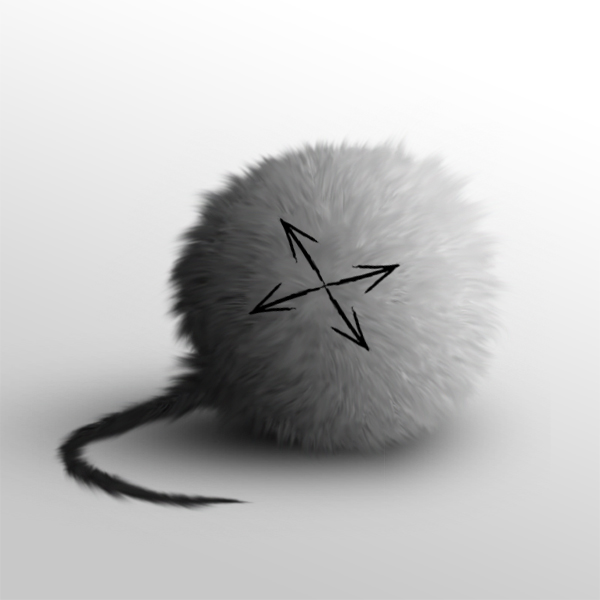
07. And finally the connecting point. Just follow the pattern and continue the same way to avoid mess.
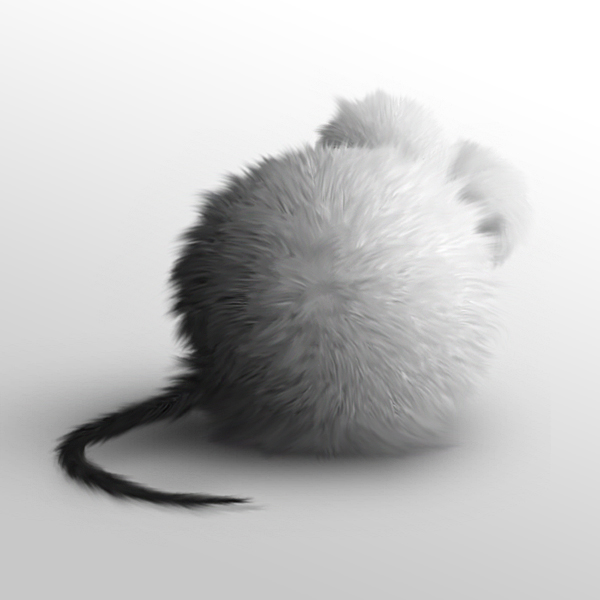
08. Make some small corrections with smaller brush size, you can add some more elements and you are done!