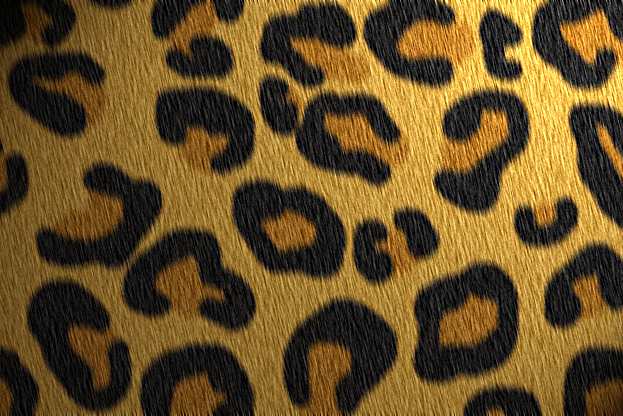
How to Create a Leopard Skin Texture in Photoshop
This tutorial will show you how to create a leopard skin texture from scratch in Photoshop.
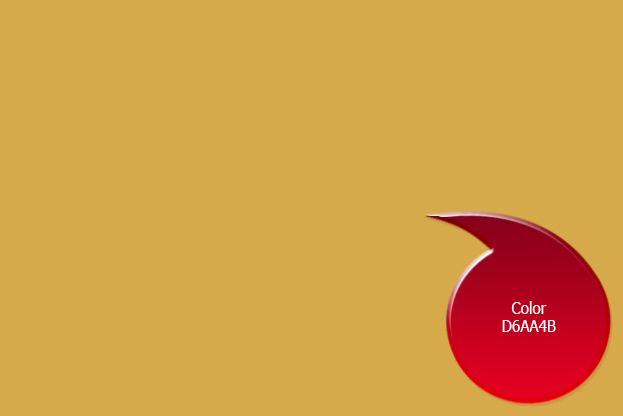
01. Create a new document and fill it with a color that would be your main leopard skin color.
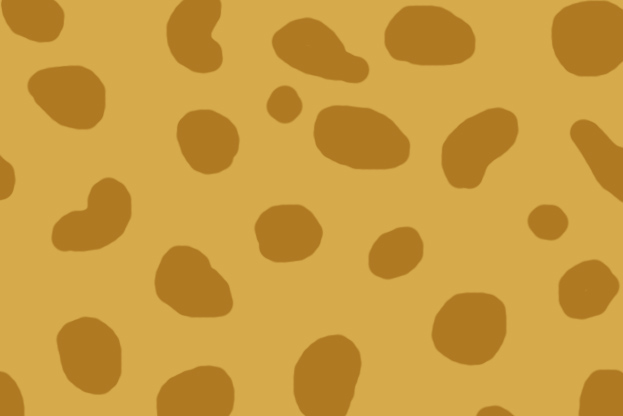
02. Now take a darker color of that main color and create random irregular circles.
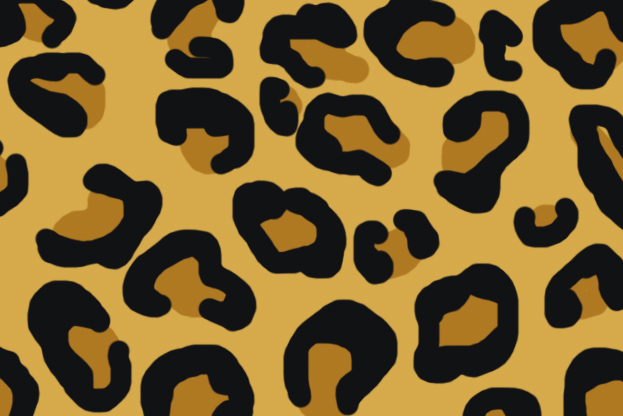
03. Now take a black color and add some thicker stoke around the edges of the circles.
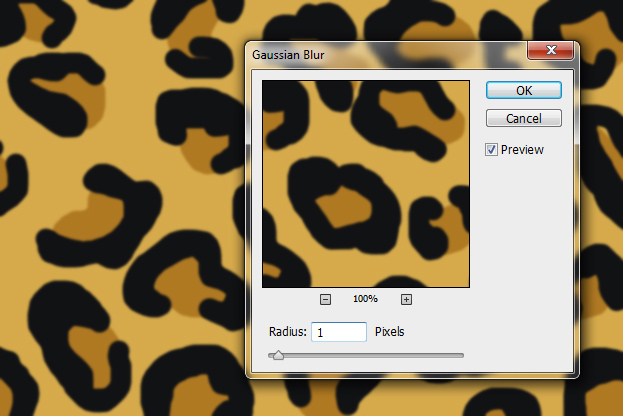
04. Go to Filter > Blur > Gaussian Blur and add a little bit of blur on the whole pattern. Press Ok.
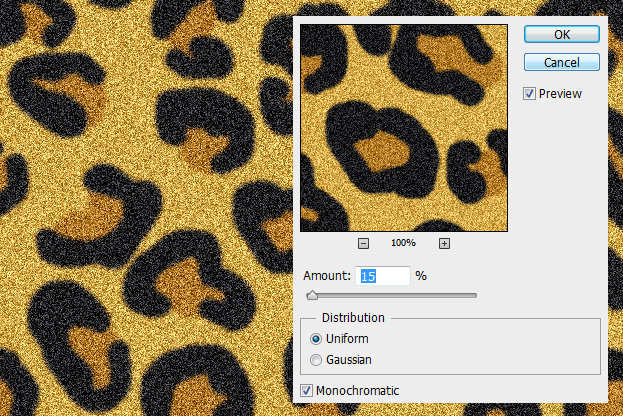
05. Proceed to Filter > Noise > Add noise and add some noise on the pattern. Press Ok. Repeat the step to make the noise even stronger.
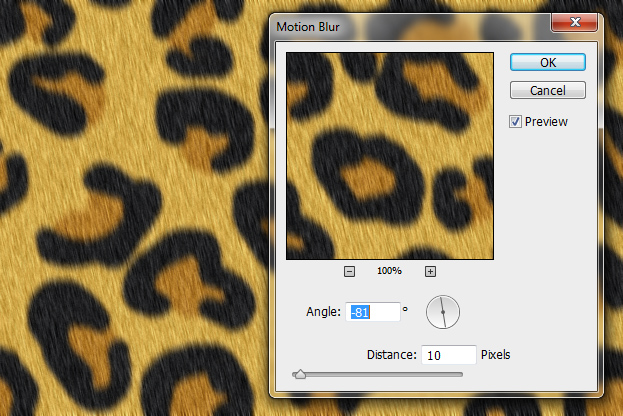
06. To give the texture a hairy look, go to Filter > Blur > Motion Blur. Keep the distance low, 10 or fewer pixels. Also, choose the angle which way you’d like the hair to be. Press Ok.
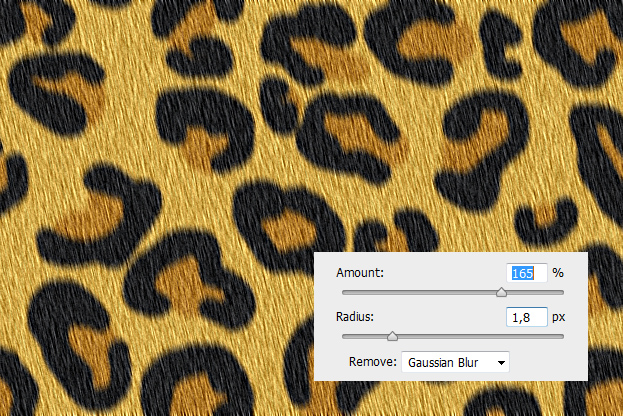
07. Sharpen the hair by going to Filter > Sharpen > Smart Sharpen. Sharpen it as much as you’d wish. Do not worry if it looks very rough as short animal skin often is. Press Ok.
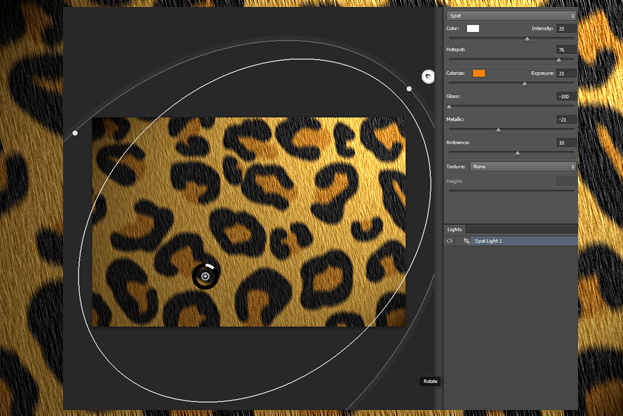
08. To add more realism and depth to the texture, go to Filter > Render > Lighting Effects. There add some light effect on your texture.
09. And your leopard skin texture is ready to use!
