How to Create a Metal Screw in Photoshop
This tutorial will show you how to create a metal screw in Photoshop.
01. Open a new document and fill it with any color or set any background. Here a metal background is used just for the screws to feel at home.
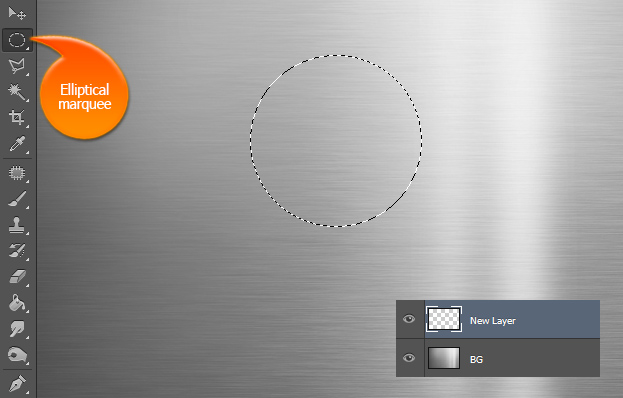
02. Create a new empty layer (Layer > New > Layer). Select the Elliptical Marquee tool and draw a circle.
03. Fill the selection with any color.
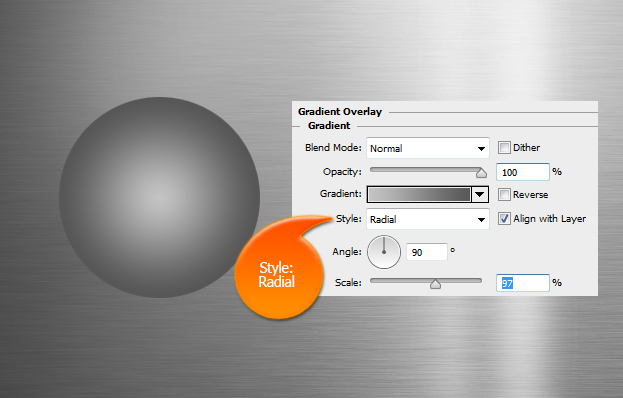
04. Go to the menu and locate Layer > Layer Style > Gradient Overlay. Set the color from light gray to dark gray and set the style to Radial. Make sure the darker color stays outwards.
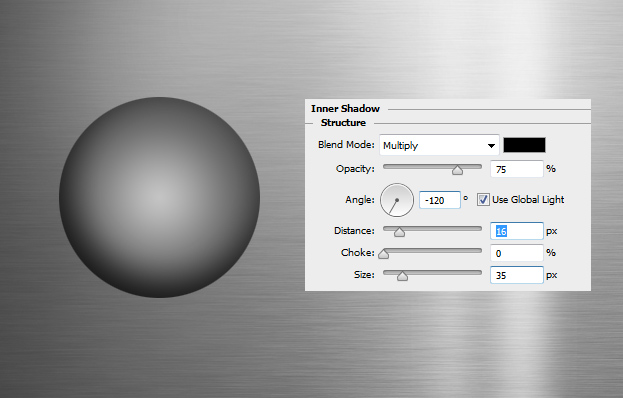
05. From the same window, locate the Inner Shadow tab and click on it. There set a medium dark shadow under the circle.
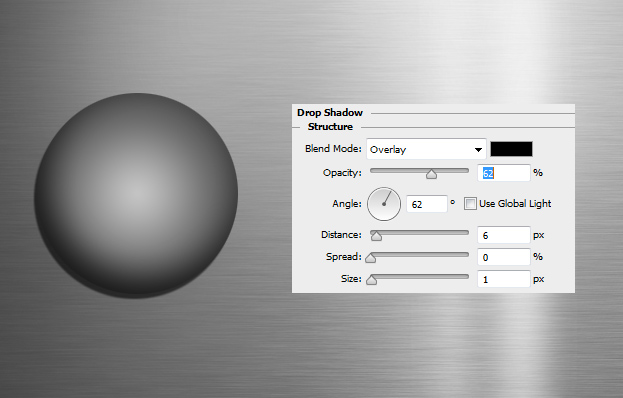
06. And for the last, go to Drop Shadow and add a smaller shadow under the circle. Press OK.
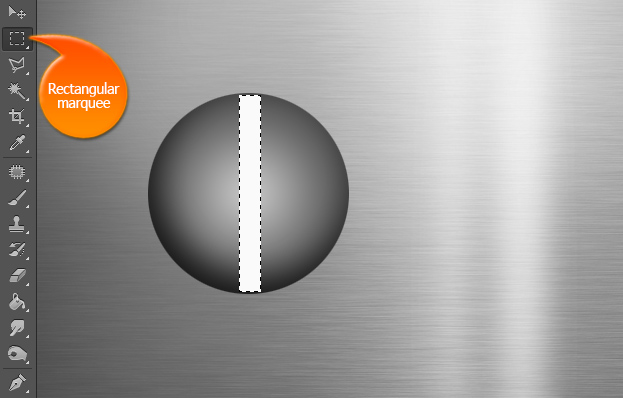
07. Create a new layer and take the Rectangular Marquee tool. Draw in the middle of your circle a thinner tall line and fill it with any color.
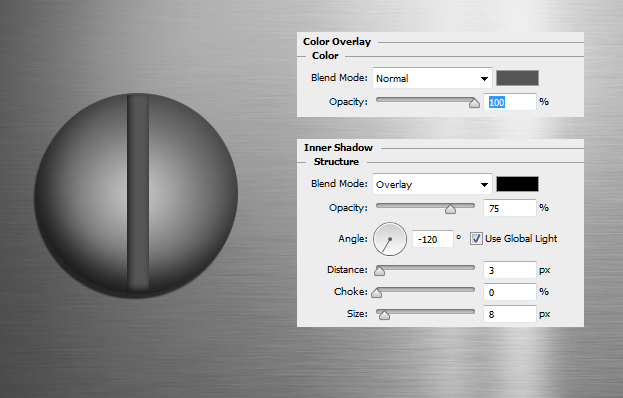
08. To give some more depth to the screw gap, go to Layer > Layer Style > Color Overlay and set the color to dark gray. Move on to the Inner Shadow tab and add a small dark shadow.
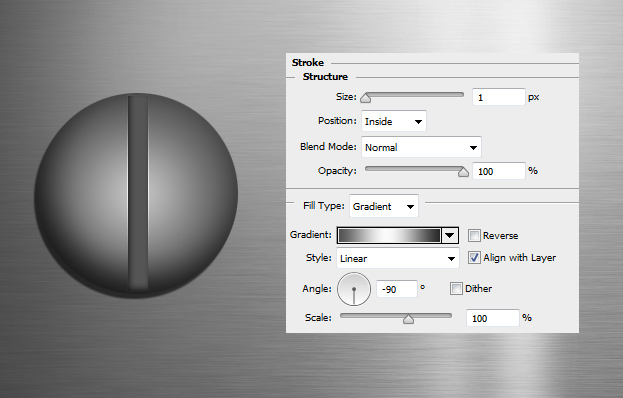
09. Move to the Stroke tab and add a small stroke around the gap. Press Ok.
10. And your screw is ready to use as an icon or just to put something on the edges of a metal plate.
