How to Create a Natural Rough Gold Texture in Photoshop
This tutorial will show how to create a natural rough gold texture in Photoshop.
01. Open a new document and fill it with black. Set your foreground and background color to black and white.
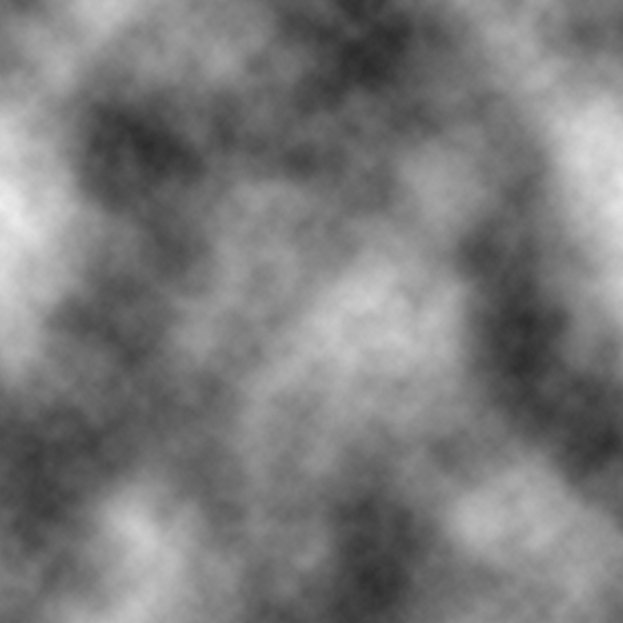
02. Go to Filter > Render > Clouds to add a cloudy effect on the picture.
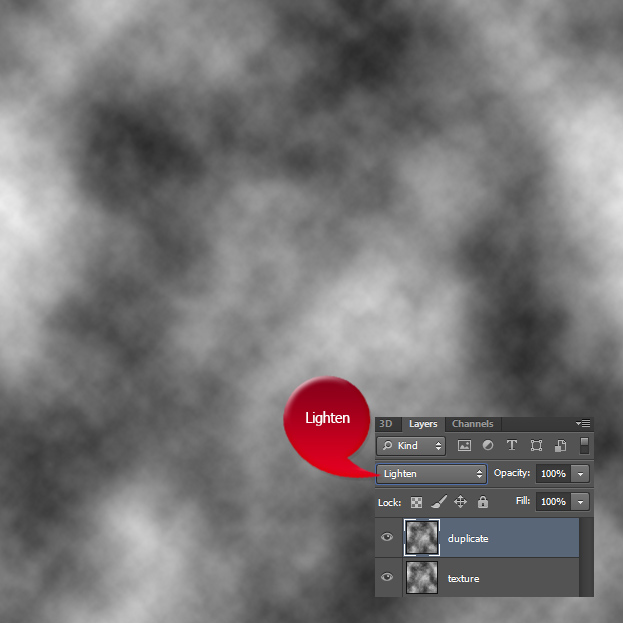
03. Duplicate the layer by right clicking on the original layer and choosing duplicate layer. Set the duplicate layer to Lighten. Now go to Edit > Transform > Flip Vertical to mix the 2 patterns up.
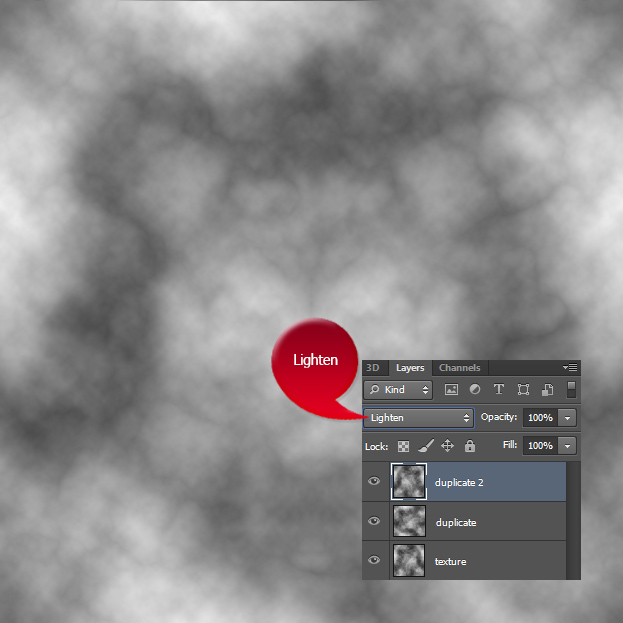
04. Duplicate the layer again, set it to Lighten and go to Edit > Transform > Flip Horizontal to mix the pattern even more.
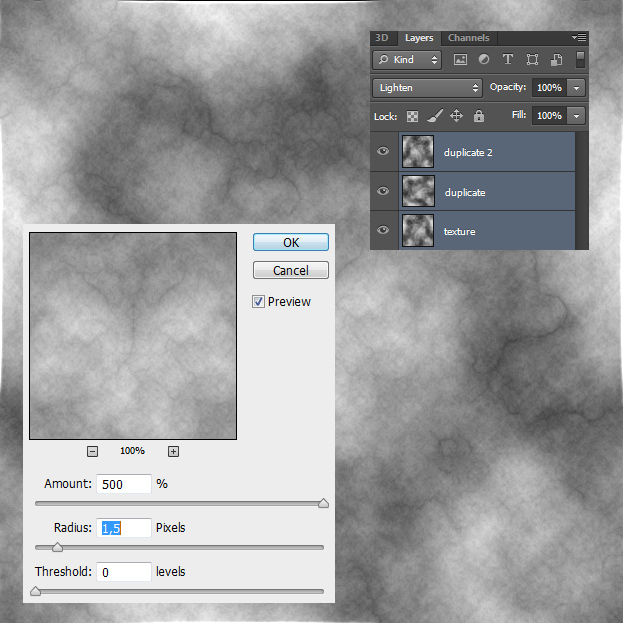
05. Select all 3 layers, right click and select Merge layers. No go to Filter > Sharpen > Unsharp mask and set the values to give more texture to the clouds. Press Ok.
06. Sharpen the picture even more by going to Filter > Sharpen > Smart Sharpen. Press Ok.
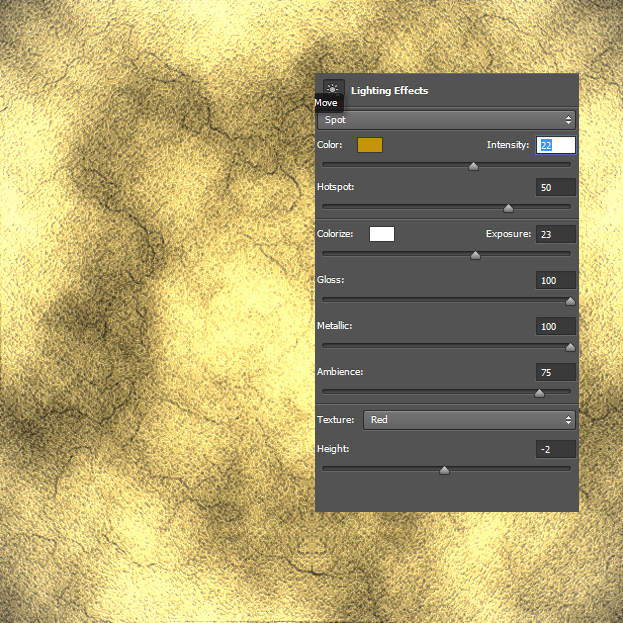
07. For the yellow color and stronger highlights, go to Filter > Render > Lighting Effects, add the necessary values and press Ok.
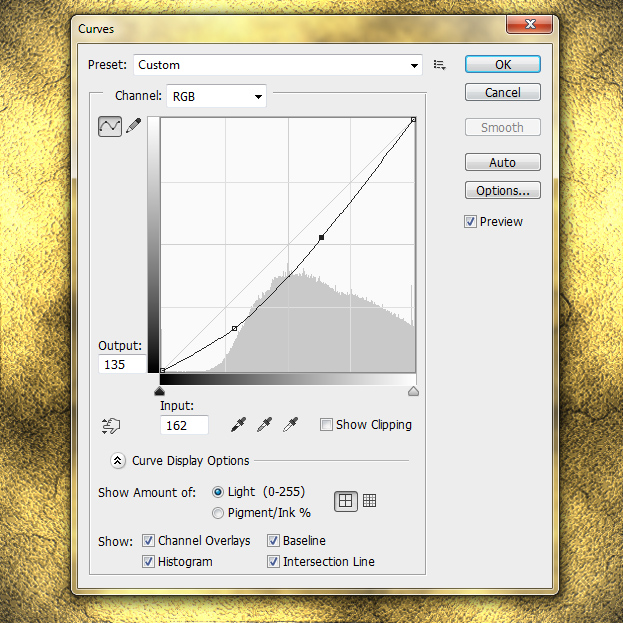
08. Add some more contrast by going to Image > Adjustments > Curves and move to curve sligtly downwards. Press Ok.
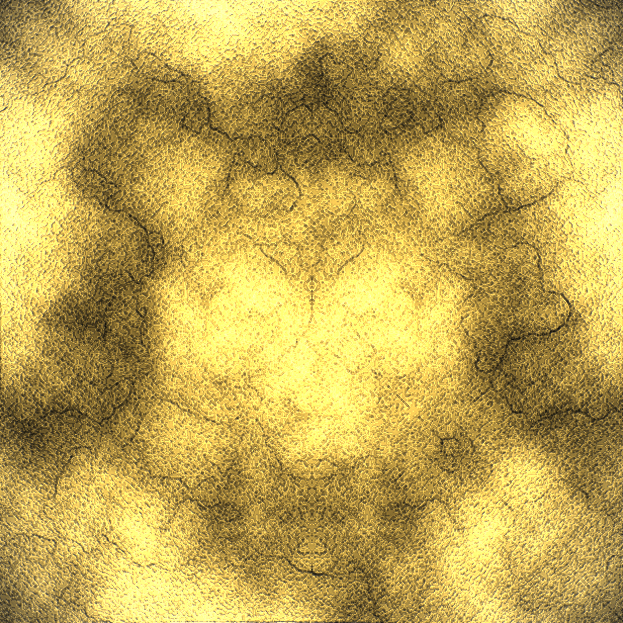
09. And you are ready to use your newly made texture!

