How to Create a Vintage Photo Effect in Photoshop
This tutorial will show you how to turn your photo into vintage photo in Photoshop.
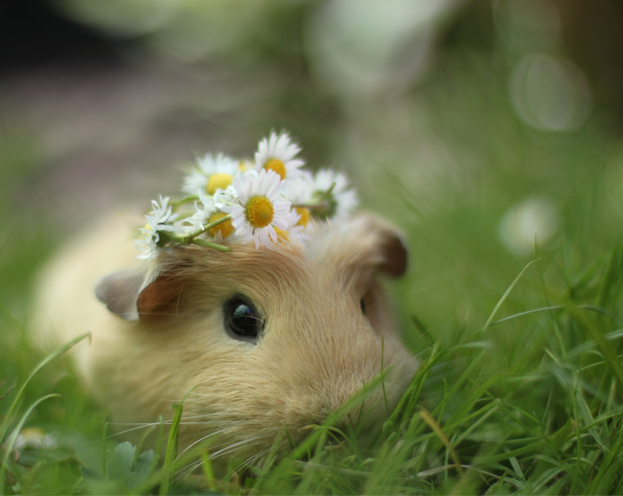
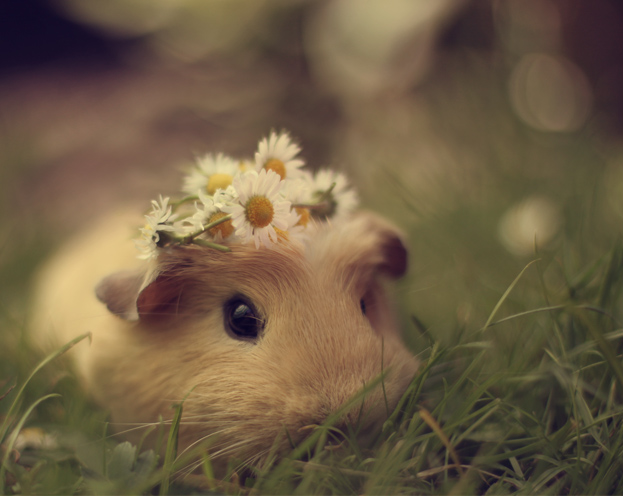
01. Firstly, pick a photo that you’d wish to turn into a vintage photo.
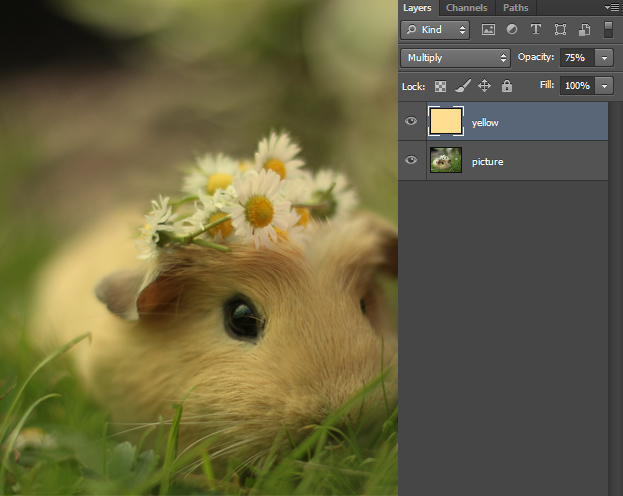
02. Now create a new layer by going in the menu to Layer > New > Layer. Then take a matte yellow color and fill the whole image with it. Then go to the layer’s panel, set the yellow color to Multiply and lower the opacity to 75%.
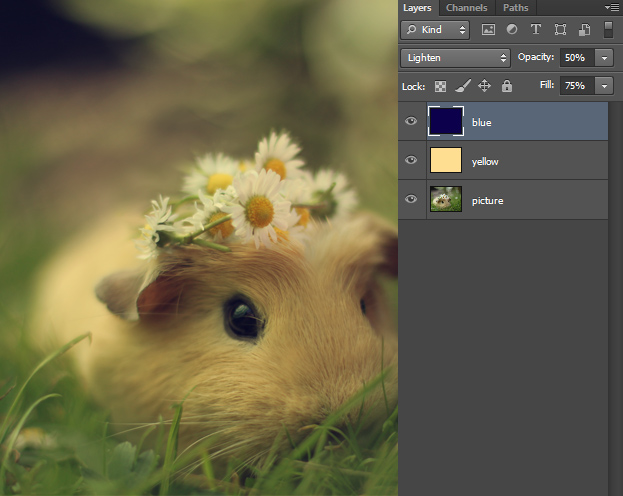
03. Again, create a new layer, then fill it with dark blue color, set the blend mode to Lighten and lower the Opacity to 50% and Fill to 75%.
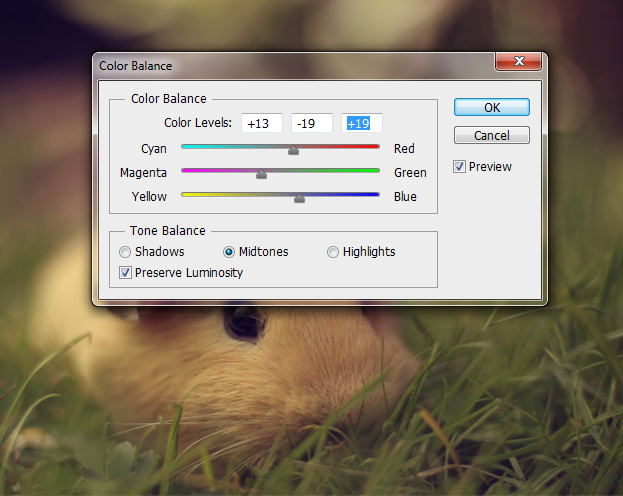
04. Now select your picture layer, then go to Image > Adjustments > Color Balance and move the values there a bit. The Cyan bar a bit towards the red, tiny bit more magenta and also raise the blue value. Press Ok.
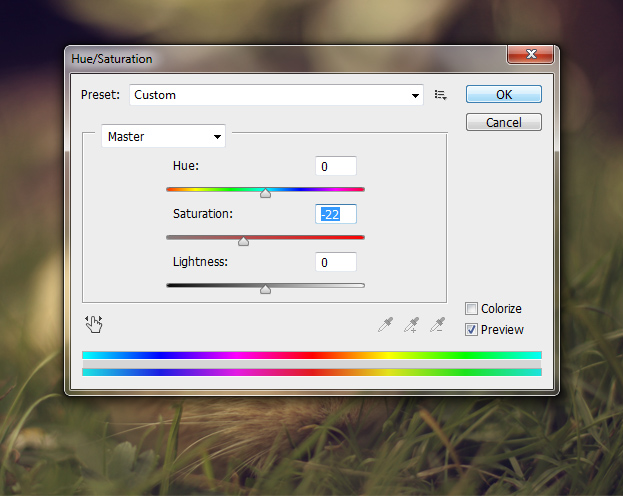
05. (Optional) If you want to take a bit of colorfulness away, then go to Image > Adjustments > Hue/Saturation and lower the Saturation bar a bit. This way you’ll give a bit more older color look to it. Press Ok.
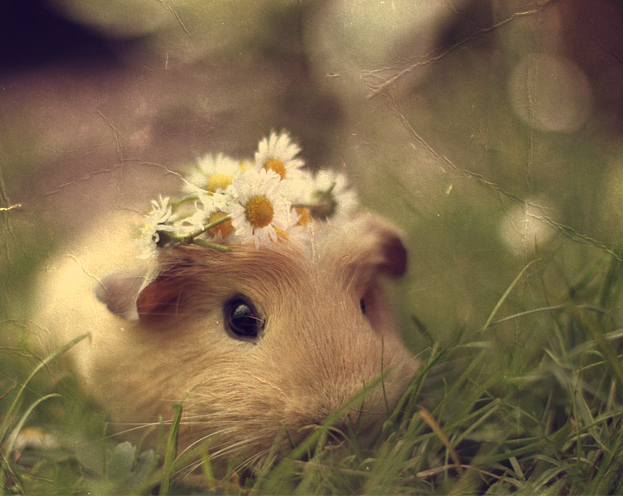
06. And your vintage effect is complete! If you wish to also add some texture to your picture, continue to the next step, if not, your image is done.
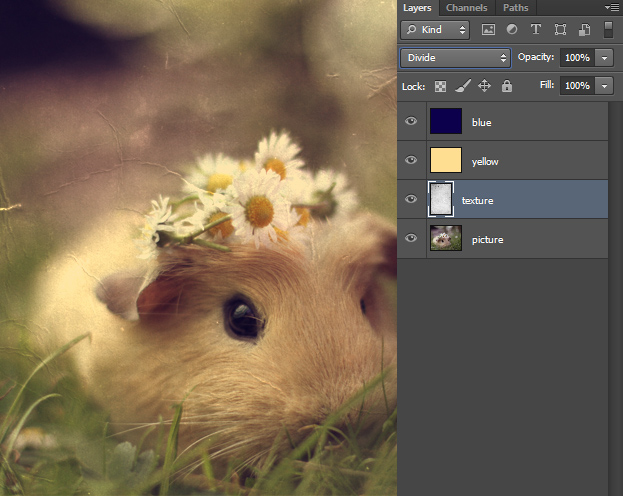
07. For texture, take a picture of old paper, place it between the color and your image layer and set the blend mode to Divide or something else, depending on your texture.
08. And again, your vintage effect is complete!
