How to Create a Wooden 3D Room Background in Photoshop
This tutorial will show you how to create a wooden room in Photoshop.
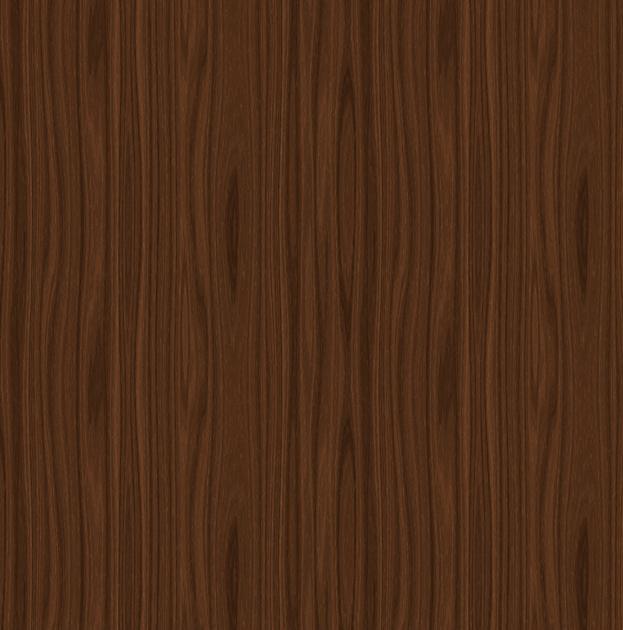
01. Open a picture of a straight wood texture and set it on a background of a size you’d wish to create the room.
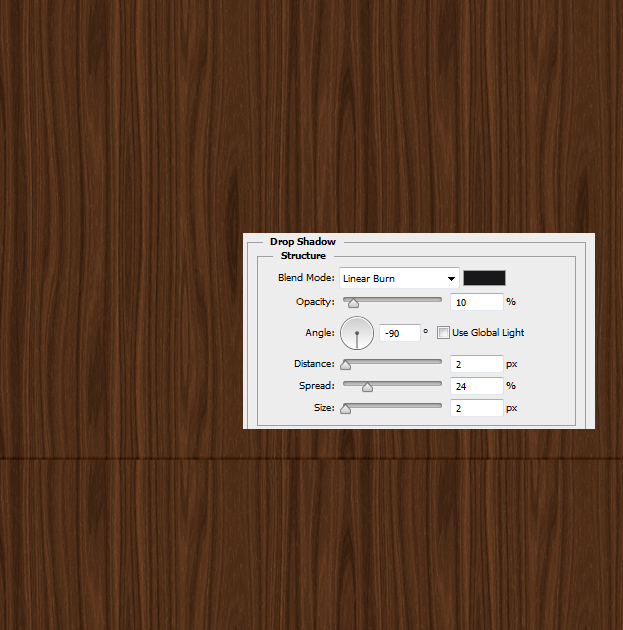
02. Now duplicate the layer by right clicking on the wood background and choosing Duplicate Layer. Then move it down as much as you want the floor to be and go to Layer > Layer Style > Drop Shadow and add a shadow on the breaking point of the wood. Press Ok.
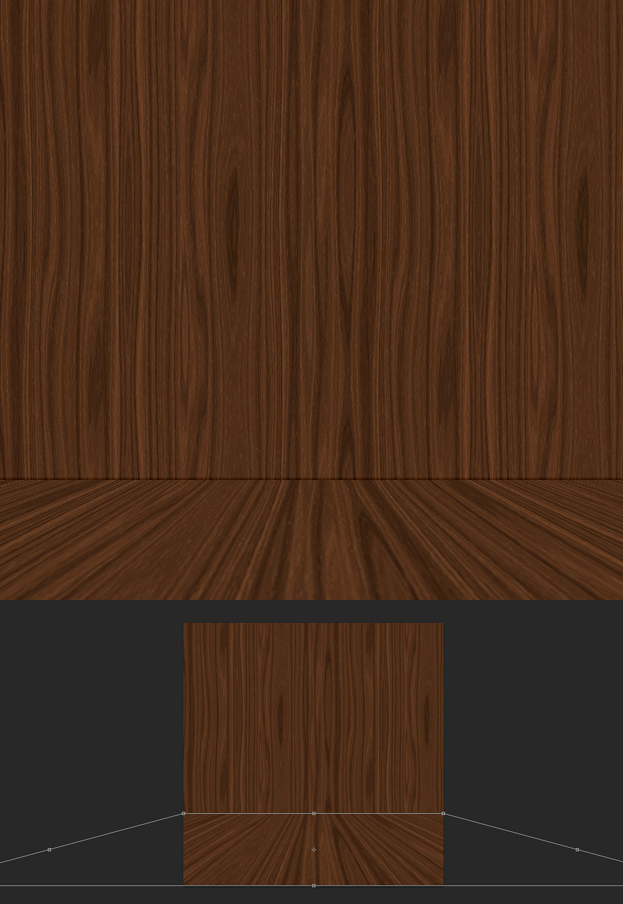
03. Now go to Edit > Transform > Perspective and widen the lower part of the floor by dragging the lower boxes outwards as shown below. Press Enter.
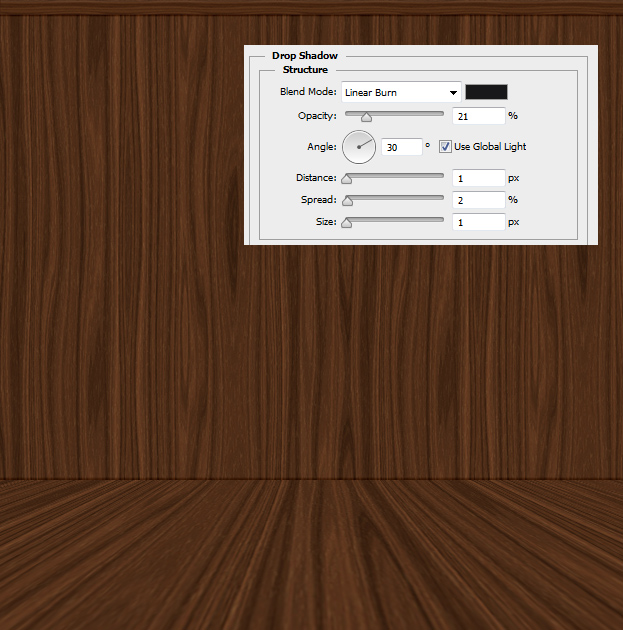
04. Cut out a smaller stripe of wood and set it on the top of the wall. Also add a small shadow at Layer > Layer Style > Drop Shadow.
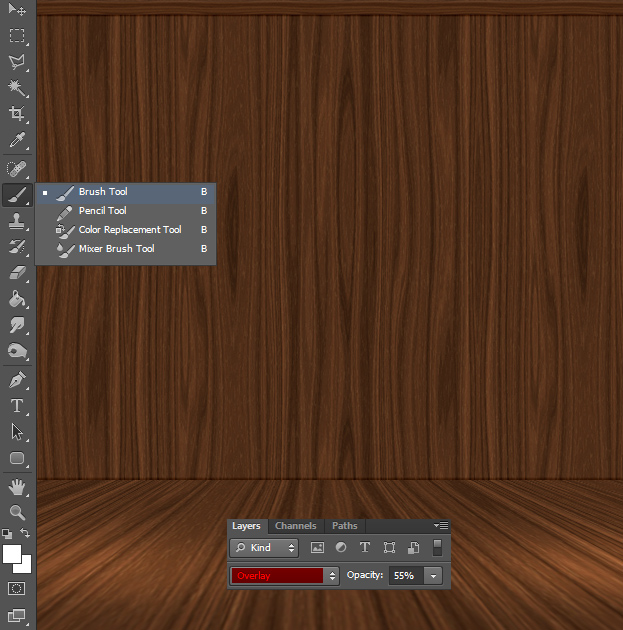
05. Create a new layer (Layer > New > Layer) and with the Brush tool add some highlight on the floor. Lower the opacity and set the highlights to Overlay.
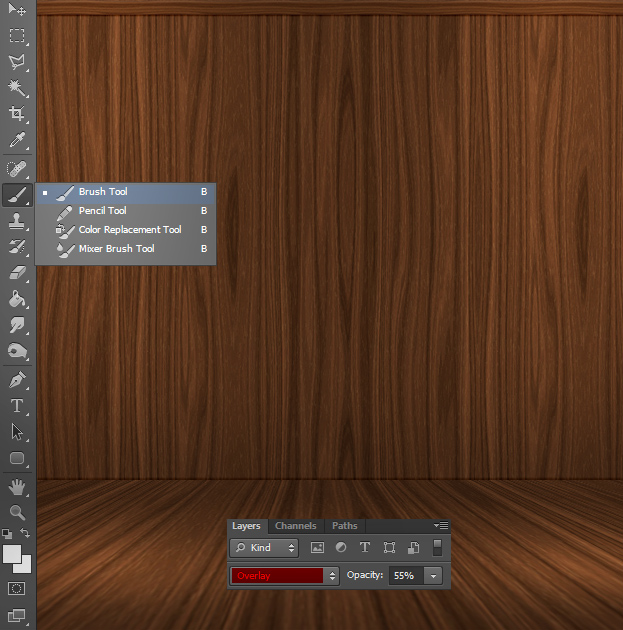
06. Do the same with the wall – just add some highlight points on the edges or in the middle.
07. Add a small wall reflection on the floor by duplicating the wall layer, putting it on top of the floor layer, lowering the opacity and deleting a bit on the lower part.
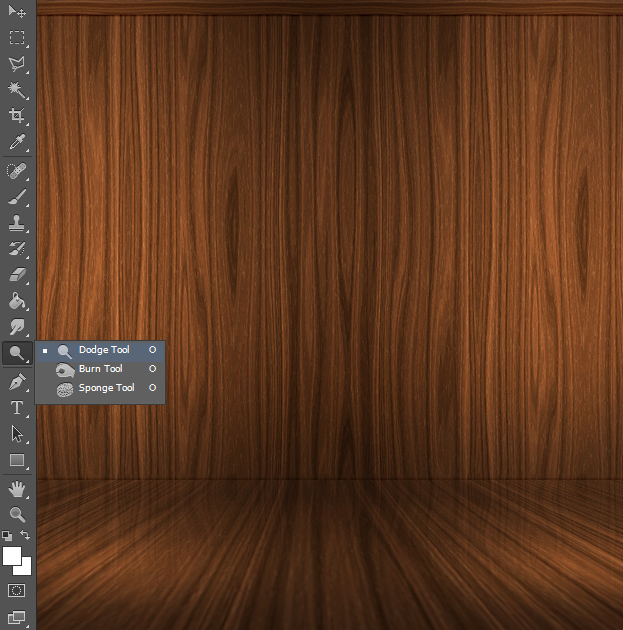
08. Merge all the layer by selecting them and pressing Ctrl (Command) + E on the keyboard. Now if you wish to give more shadows and highlights on the picture, use the Dodge tool for highlighting and Burn tool to darken. Do not forget to lower both of these tools to 10-20% before using them or they will be too strong.
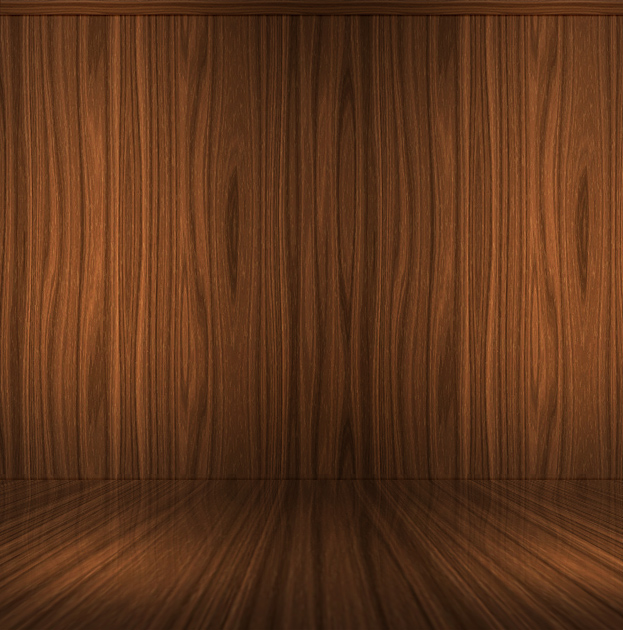
09. And you have created a 3d room background to be used anywhere you’d like to.
