How to Design Your Own CD/DVD Disc in Photoshop
This tutorial will show you how to create your own cd or dvd disc design in Photoshop.
01. Open a picture of a cd and cut it out on a separate background.
02. Now create a new empty layer (Layer > New > Layer), take the Elliptical Marquee Tool and create a selection exactly around the disk.
03. Select the Paint Bucket tool and fill in the color you’d wish your cd to have.
04. Again, take the selection tool and select the middle section and press delete.
05. Set the colored layer blend mode to Multiply so that all the shadows, shines and highlights would pass through.
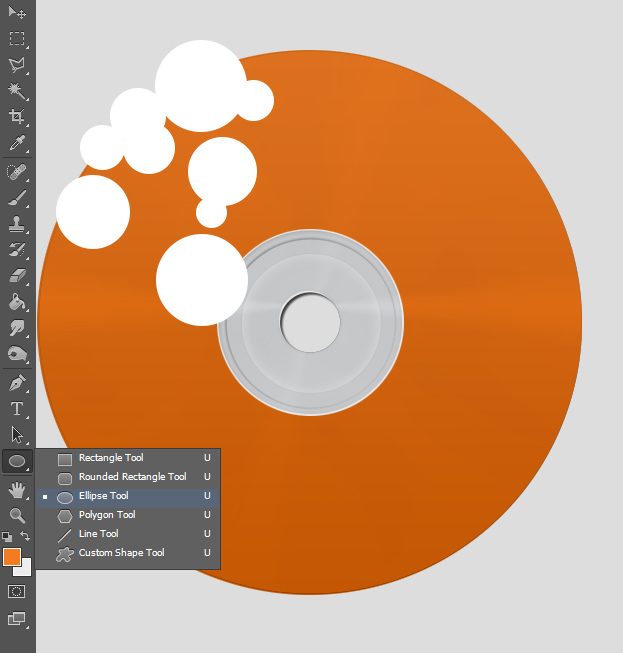
06. Now take the Ellipse tool, set the color to white and create circles while holding the Shift always down so all the circles are created on one layer.
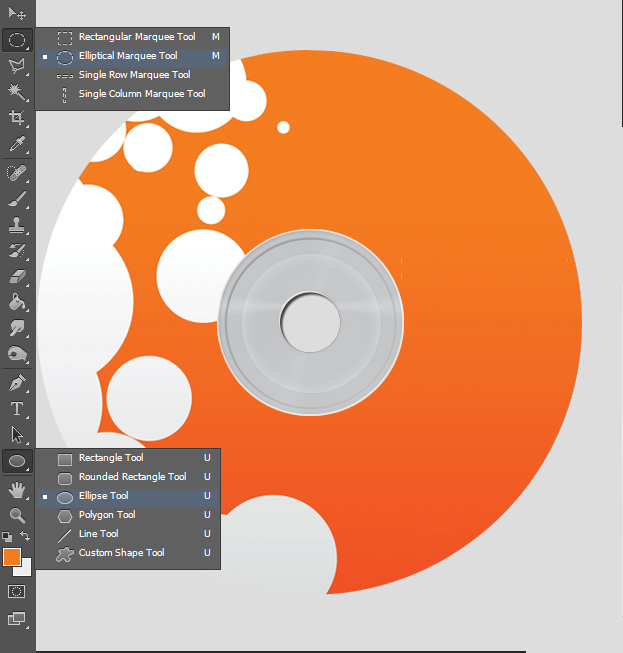
07. When you are done creating random circles with Ellipse tool then right click on the circles layer and pick Rasterize layer. Now take the selection tool and delete the parts of circle that are left outside of the cd. And your cd is ready.
08. You can also distort the cd a bit, then go to Layer > Layer Style > Drop Shadow to add a bit of shadow. Duplicate the layer and move it a bit sidewards.
09. And now you know how to create cool cd or dvd design in Photoshop!


