How to Get a Tan in Photoshop
There is no doubt that a nice golden skin looks very appealing so why not achieve exactly that with Photoshop? This tutorial will show two simple steps how to achieve a nice natural tan.
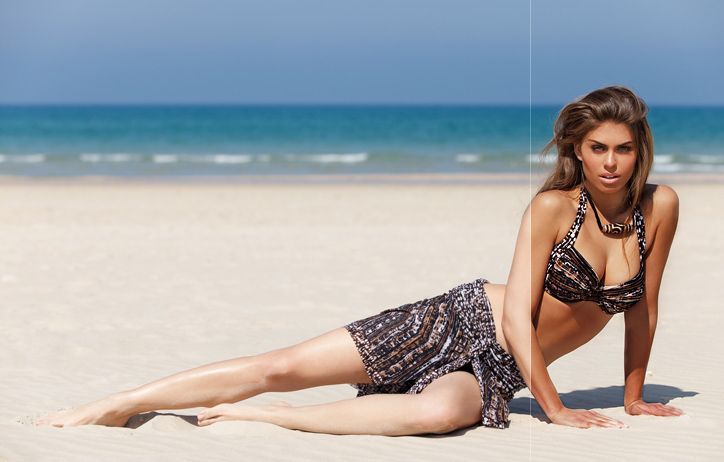
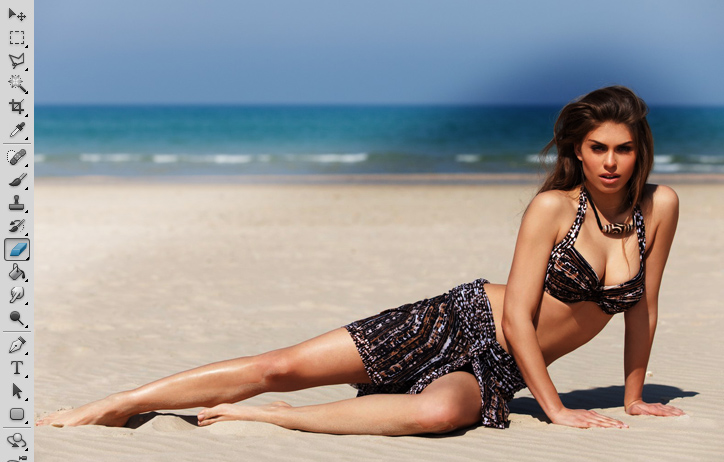
01. Open a picture where you’d wish to adjust the skin color.
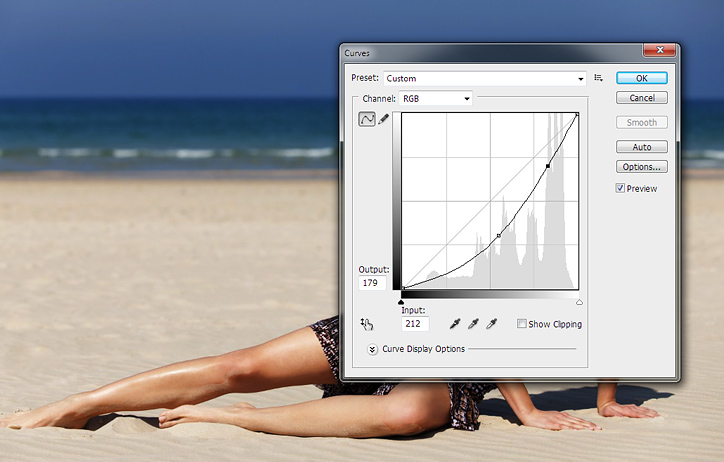
02. Duplicate the layer (Layer > Duplicate layer) and go to Image > Adjustments > Curves and lower the curve as much as dark you’d like the skin to be and then on the upper part raise the line very very few for some contrast. Press OK.
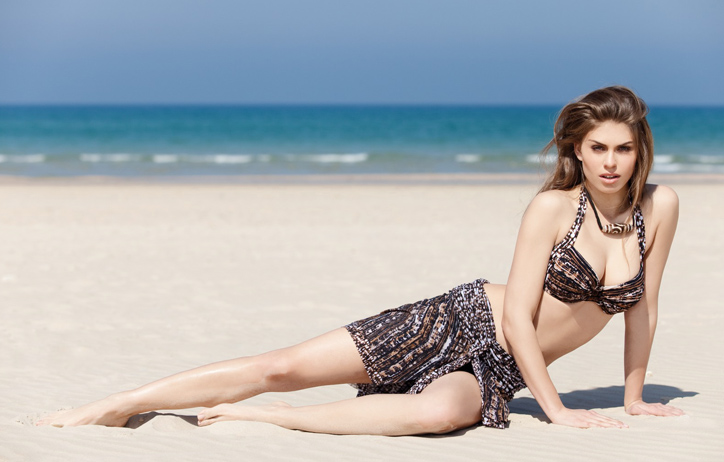
03. Now you’ll have a darker skin but also darker everything else. Lets fix that.
04. Advanced Photoshop users should use a mask now, but a beginner should just take the Eraser tool from the toolbar, zoom into the picture and start carefully deleting everything that shouldn’t be dark – eyes, background, clothes.
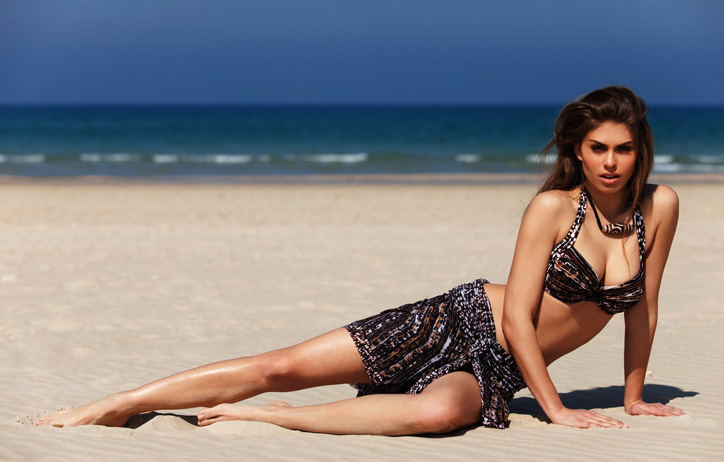
05. Keep deleting til only skin is darker and nothing else. And you’re done!
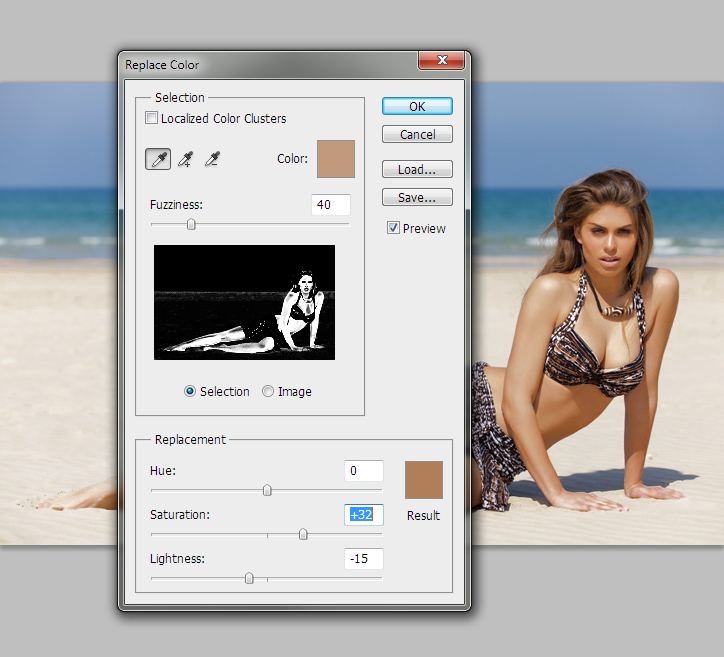
06. If your background is not as difficult where the white skin blends into to sand, then there is also a faster way to achieve tanned look. Just go to Image > Adjustments > Replace Color, there select the skin parts so all skin parts are white on the small preview and then raise the Saturation a bit and lower the Lightness. Press OK and you’ll have the fastest tan ever.
07. Before and after tanned effect. What a difference!