How to Look Thinner With Photoshop Tutorial
Body weight is a serious topic these days and can say that most people are longing for a slimmer figure. One way to accomplish this is to diet and exercise. However, if you need the results now you can just make this 5 – 10 minute tutorial and look slimmer than ever!
01. Open a picture in which you’d want to look thinner. While choosing a picture, keep in mind that the more detailed the background is, the higher level of Photoshop skills are needed. So if you are a beginner, choose a simple picture with a simple background.

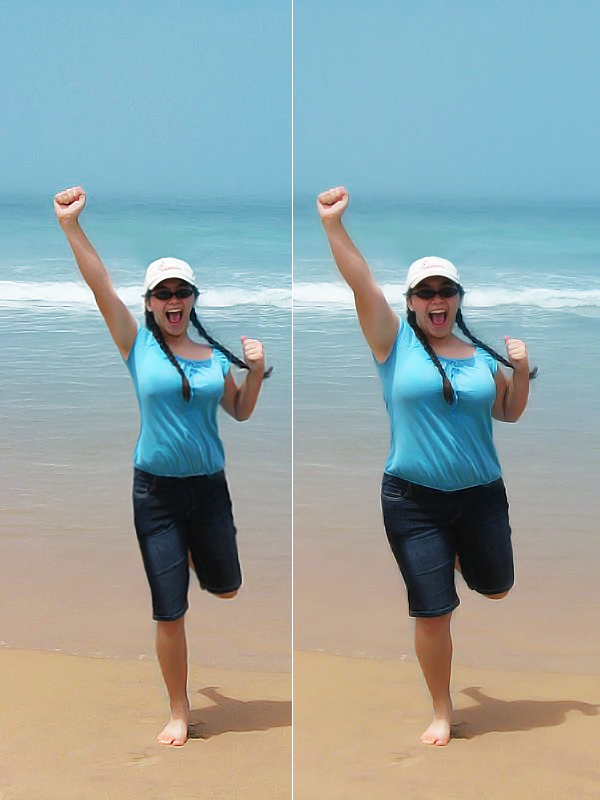
02. Analyze the picture. It is important to know where a curve should be.
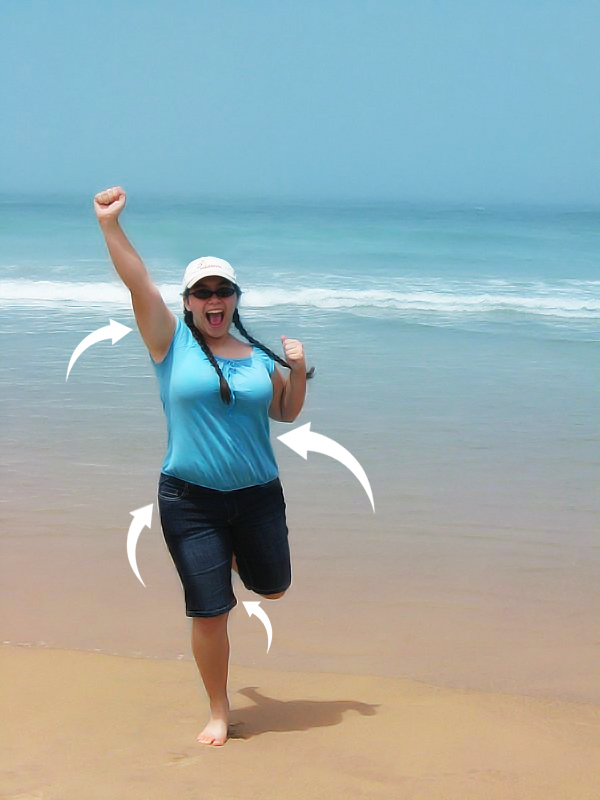
03. Lets change the picture! Go in the Photoshop menu to Filter > Liquify. A new window will open with many options. All you need to know is that the 1st skill on the left is the tool you need to select and on the right side there is the Brush size you need to choose. Now adjust the brush size according to, for example, the thickness of the arm. Now go on the picture area and just click on the edge of the arm (where the arm meets background) and push it inwards. It is important to do it with the right size of brush because if its too big, you’ll push the whole arm, if too small, the arm will look wavy. With every different part the brush size should be changed. Be patient and keep pushing those curves inwards.

04. You’re getting there! Just keep pushing the curves, create a slimmer mid section and don’t forget some more “hidden” parts as the neckline and armpits.

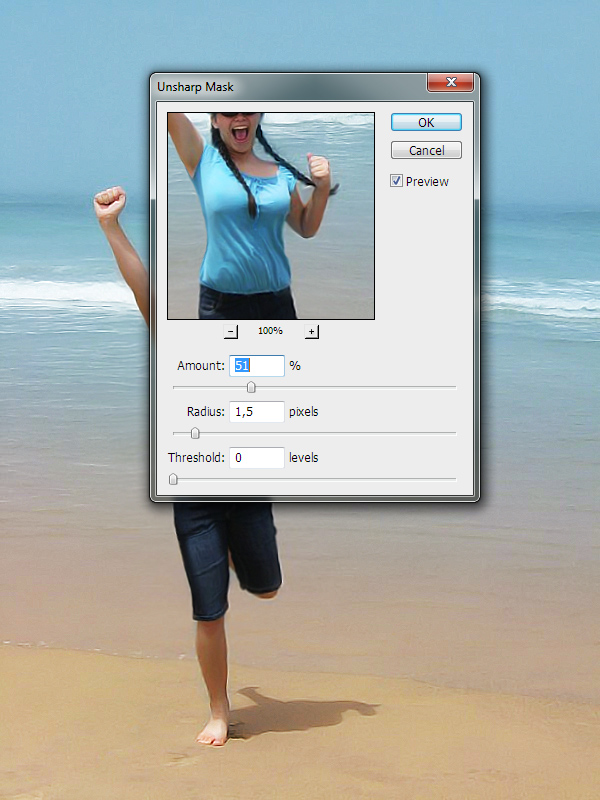
05. If you are satisfied with the results, just press OK and the changes will be added. Now sharpen some details at Filter > Sharpen > Unsharp Mask. Add just a little bit, no need to go crazy. Press OK.
06. And you are done – thinner faster than ever!