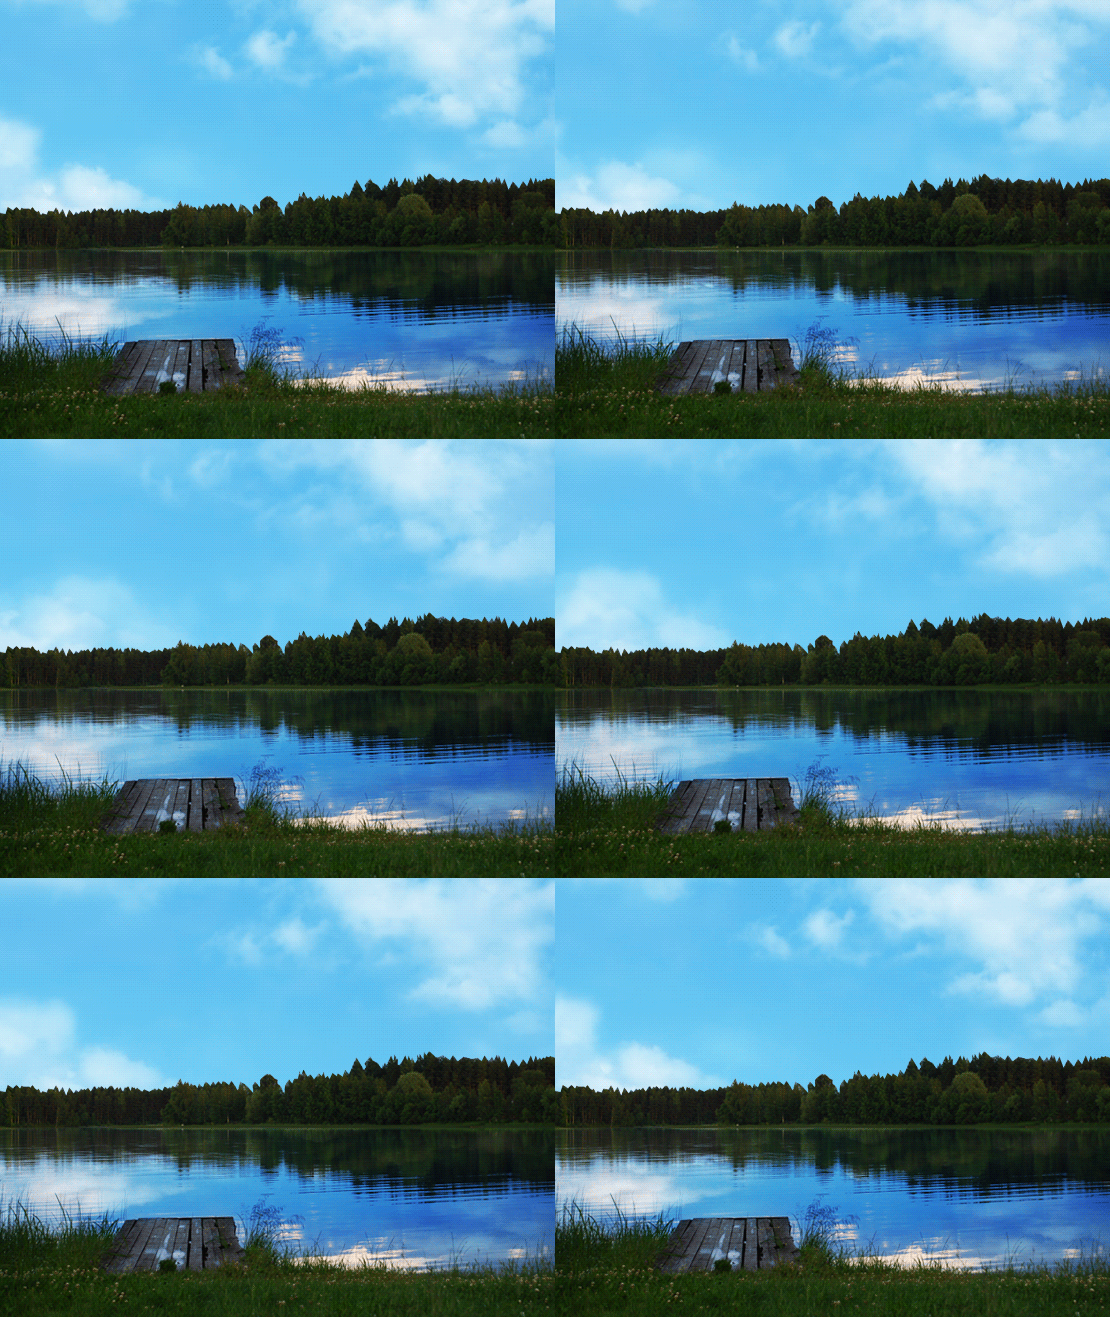
How to Use Animation Timeline to Create an Animation in Photoshop
This tutorial will show you how to use the Animation (Timeline) in Photoshop to create an animated picture in Photoshop.
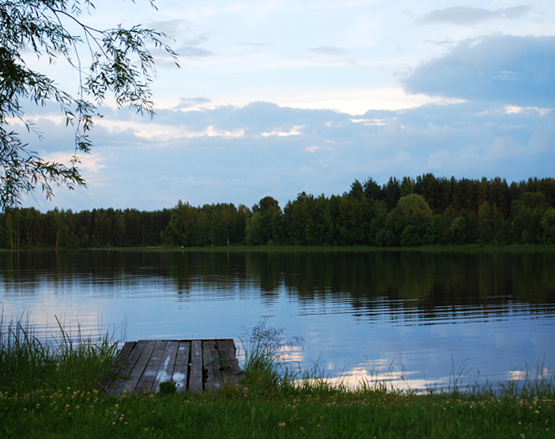
01. Open a picture you’d wish to animate. In this tutorial we’ll make the clouds in the sky to move and since the water reflects the clouds, then the reflection clouds will also be moving. But you can just put a person to blow bubbles, a waterfall coming down the hill or anything else moving. Just keep in mind that the moving part you should already have ready as a short movie clip that you can film yourself with a simple camera.
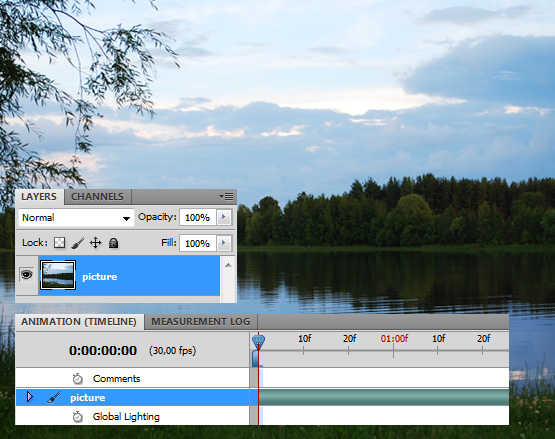
02. Double click on your picture layer to make it into a regular layer not a locked Bacground one. Then open your Animation panel. If you cannot see it anywhere, just go in the menu to Window – Animation and it should pop. There click on the tab Animation (Timeline). As you can see your picture layer is already counted there.
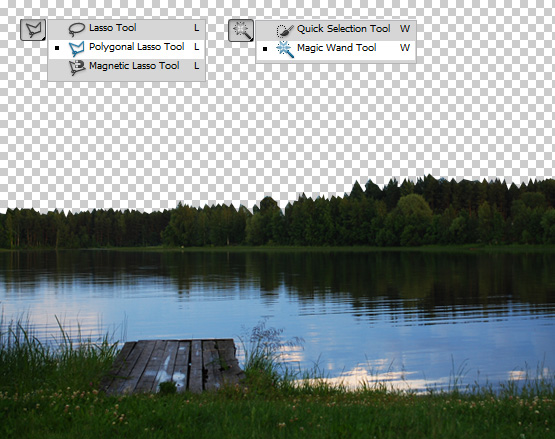
03. Since we want to add moving clouds, then we have to remove the original clouds. For that cut the clouds out either by using the Polygonal Lasso tool or Magic Wand tool – whichever you like the most.
04. Now it is time to add your moving part. Go in the menu to File – Place and select your movie clip and press Place. The movie clip should be short, don’t try to add a whole 1 hour movie. Just a simple couple of second clip of clouds, bubbles, bird or anything of such.
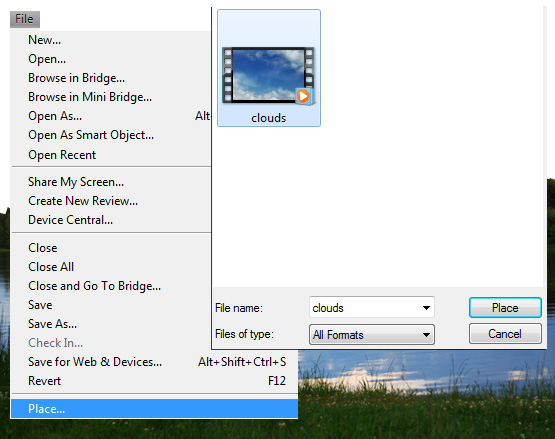
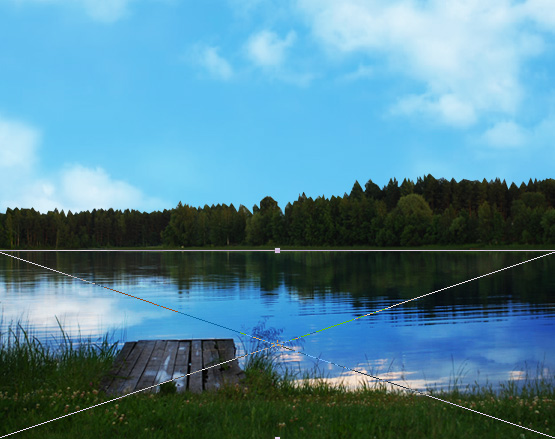
05. Place the clouds where you need them to be, resize if necessary. Then press Enter and drag the cloud layer under your picture layer so it wouldn’t cut the woods. If you have a reflection going on on your picture, duplicate the clouds (right click on the layer and choose Duplicate), move the layer ON the picture layer and place it on the reflecting area. Set the Blend mode to Screen or Overlay or other for it to pass through. You can also adjust the images colors and contrasts so just go to Image – Adjustments – Color Balance to set the color according to your own picture.
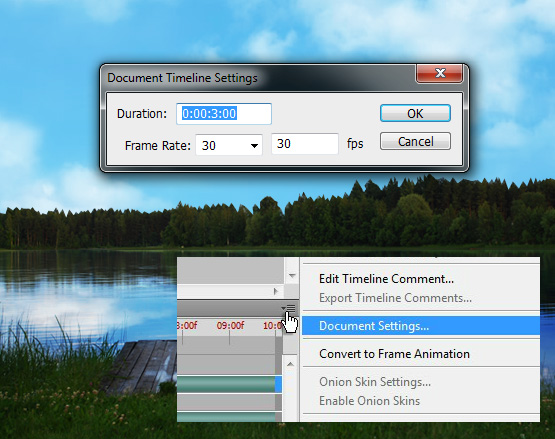
06. If everything seems perfect, click on a small icon at the right corner of the Animation box, choose Document Settings and set the duration.
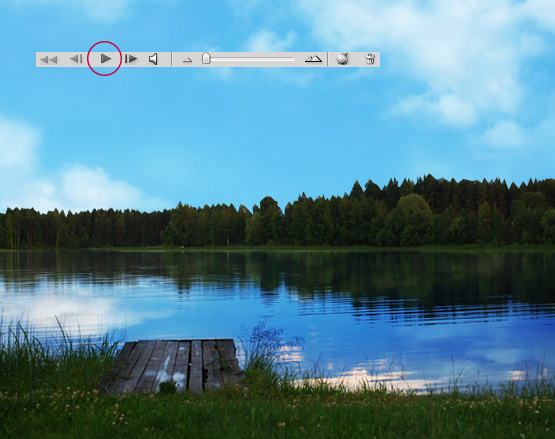
07. Press the Play button at the bottom of the Animation box to see how the animation looks like and if everything is okay to save the picture.
08. Now it is time to save your animation. For that go to File – Export – Render Video. there you have very many option of how’d you like to save your movie. In this tutorial the best settings for a regular movie clip are shown to keep the best quality at the same time keeping the size good.
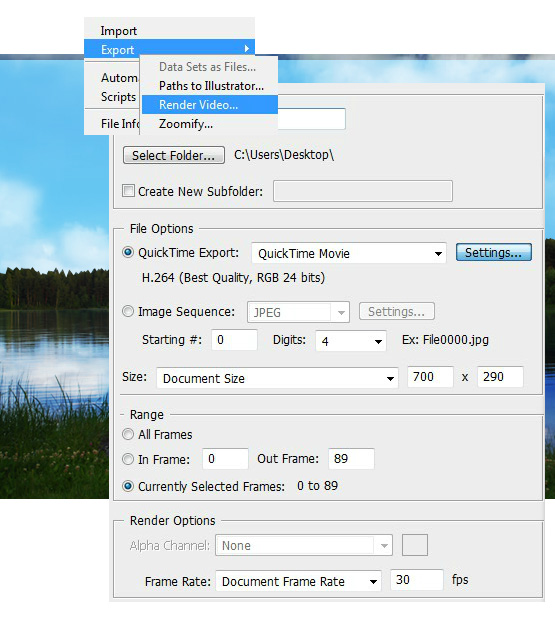
09. In the video settings click on the Settings and check also the following options.
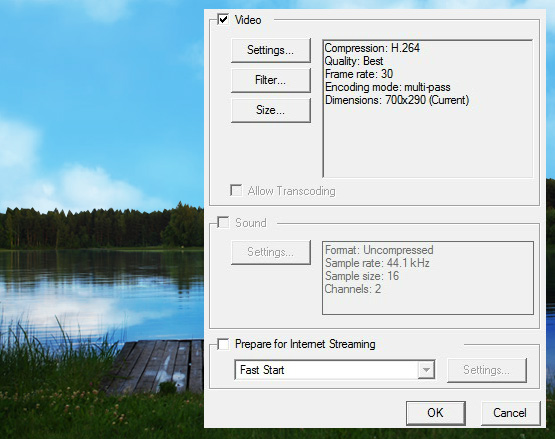
10. And your animation is ready!
