How to Desaturate a Photo and add Color (hue color)
From this tutorial you will find out two methods that are simple and efficient.
First of all you have to open the photo.

From the top menu go to Image – Adjustments – Desaturate or you could press CTRL + SHIFT + U.
This will convert your photo to gray tones and will make next steps much easier to do.


From the top menu go to Image – Adjustments – Photo Filter.
A new popup will appear and the photo will have a slightly golden color. From this window you will do all the necessary things. Be sure that you have checked Preview so you can see what are you doing.

Drag the Density cursor to 100%. This would make your photo a really intense gold color. This step is not really necessary if you know precisely what color you want , but is good to make it 100% because it helps you a lot.

Change the Use mode from Filter to Color so you can choose what color you want. You could also change from the filters tab to another setting and maybe you find something that suits your photo without manually setting the color.

Click on the color that is selected and a new popup color chooser will show.
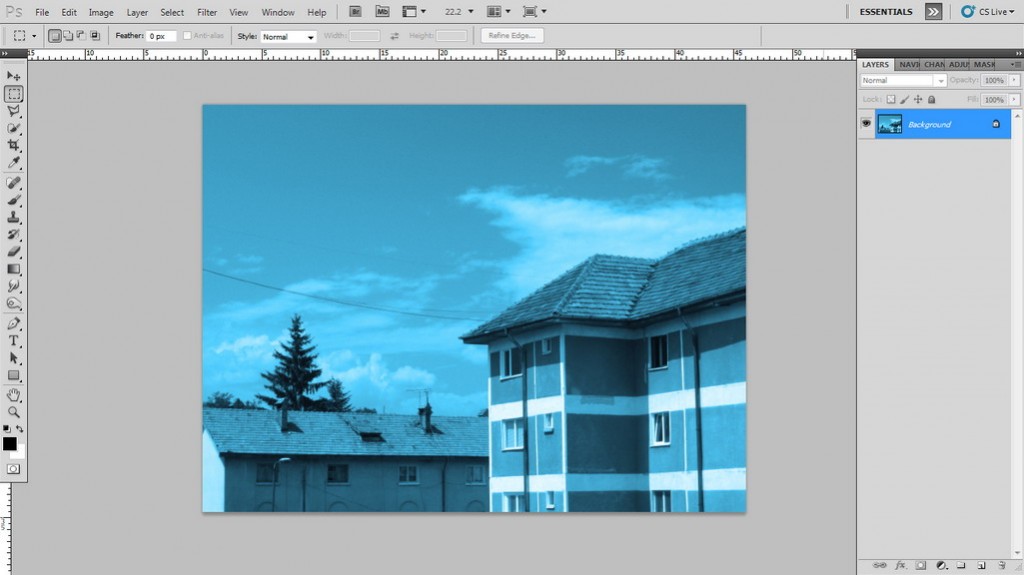
Select the color you would like to have on your photo. In this case I selected a blue. If you select black or white you will not obtain any effect. More than that , you will ruin the photo.

Click OK once you found the color that suits the best.

At this moment you could adjust the density cursor if you think that the color is too saturated , but I will let it as it is.
Click OK and you will have the final image.

The other way to do this is to make a new layer. Name it “Color Overlay”.
Duplicate the original layer that contains the photo and go from the top menu to Image – Adjustments – Desaturate. You will obtain the photo in gray tones. You could apply this setting to the original layer , but keep in mind that is an irreversible process and if you want to the color version of the image , you have to open the photo again.
Select the bucket tool and fill the layer named “Color Overlay” with the desired color. As I mentioned before , make sure that it is different from black or white. Make sure that the layer with the color overlay is on the top of the list or you will not see any change. For the moment , the only thing that you see is the color that fills the entire layer.
Go to the layer settings and select as Blend mode overlay. This setting will make the layer transparent and you will have the picture overlaid by your color.
You can use either of the versions because they are easy to use and it`s just a matter of taste.