Photo Editing – Make the Hair Look More and Thicker in Photoshop
Have you ever wished your hair would look like you just put on those nice extensions? This tutorial will show you how to make your hair look much more thicker in Photoshop.
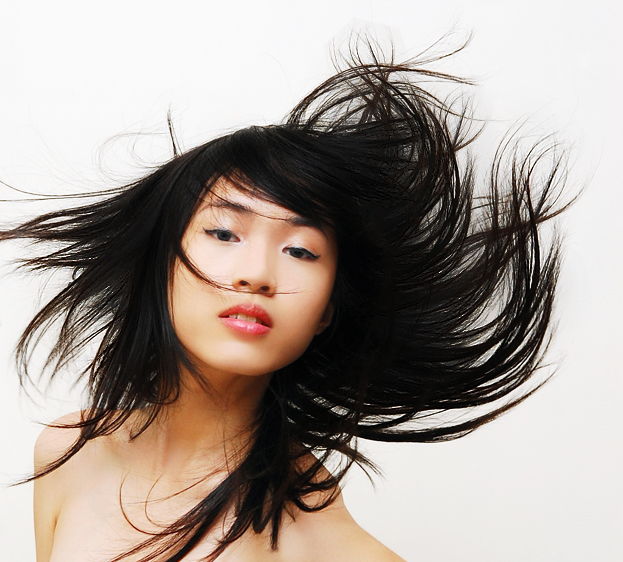
01. Open a picture you’d wish to add more hair to.

02. Create a clean selection with the Lasso tool that would reach the roots of the hair, then right click into the selection and choose Layer via Copy. Now you have a whole new layer with that selection.

03. Move and scale the new layer (Edit – Transform – Scale) and choose it a new location. Don’t put it too close the the original or it would look too repetitive and therefore, fake. Also, scaling and resizing does wonders, so do that with the hair. But be sure you follow the original hair flow. Now put the Blending mode to Darken so it would pass through. Then take the Eraser tool and gently remove all the abnormalities and hair that looks just odd. Pay special attention at the roots. Repeat the steps again, making another selection at the original layer – copying it to separate layer and then moving it to a too empty place.

04. Merge all the layers by selecting them all, right clicking and choosing merge layers. Then take the Burn tool and darken the hair from roots. Be less aggressive on the tips.

05. And your hair has never looked better!
