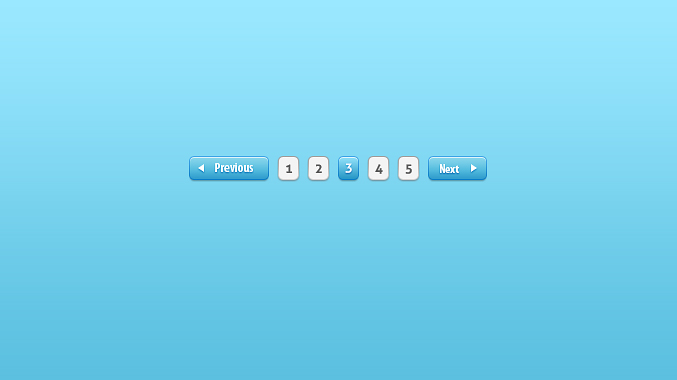
Web Elements – Create a Clean Pagination Layout in Photoshop
This tutorial will show you how to create a clean pagination layout in photoshop.
01. Create a new document with any background color of your wish.

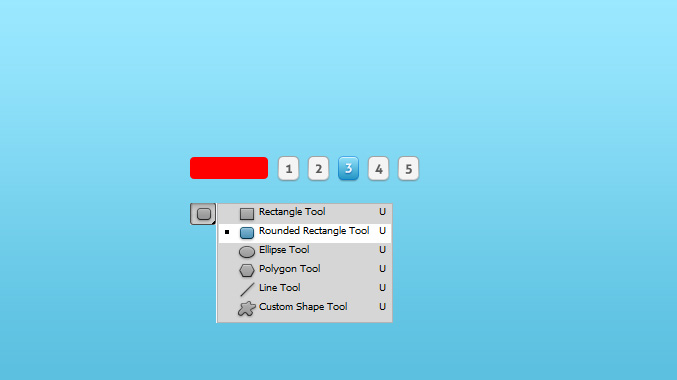
02. Now take the Rounded Rectangle Tool, choose the color white and create a small square.
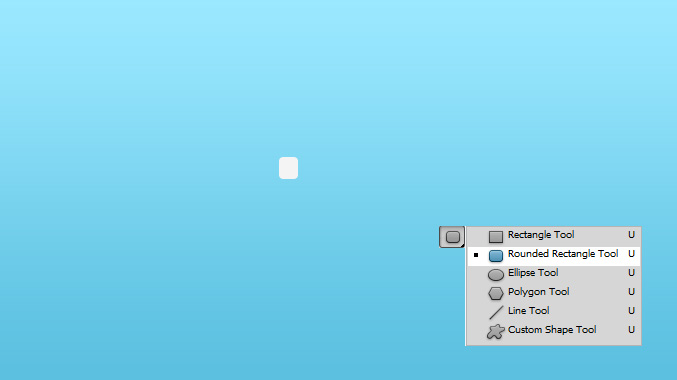
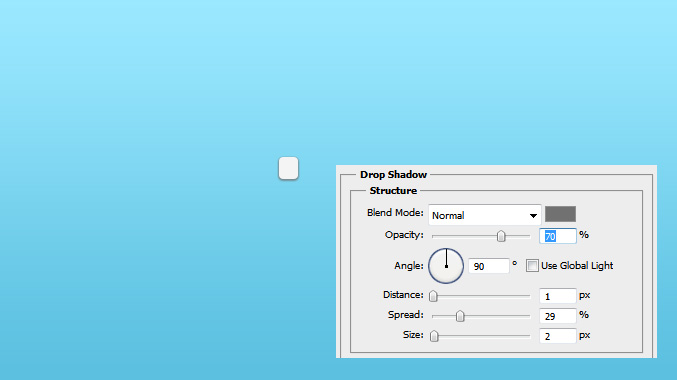
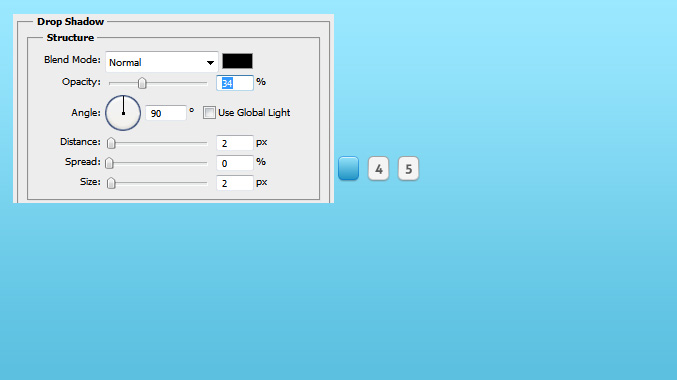
03. Double click on your square layer (Window – Layers) and from the popup click on the Drop Shadow and there set the color, angle, distance spread and size.
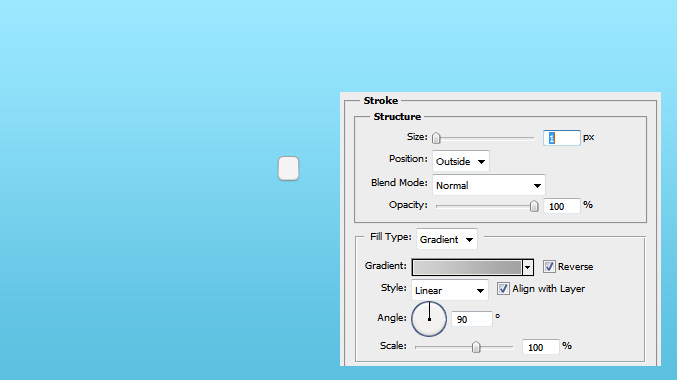
04. After setting the shadow, set a small Stroke by clicking on the Stroke in the popup. Set the stroke to Gradient, angle to 90 and size a small 1.
05. Now take the Type tool and type in your first page number.
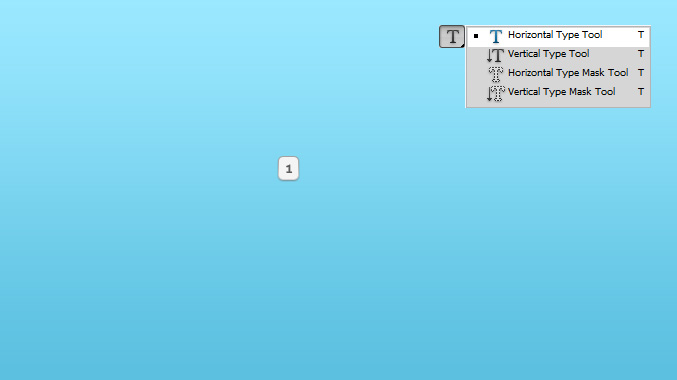
06. Repeat the previous steps with other pages, leaving a space for an active page. Or you can just duplicate the button by right clicking on the button layer and choosing Duplicate layer and adding the number separately for each button.
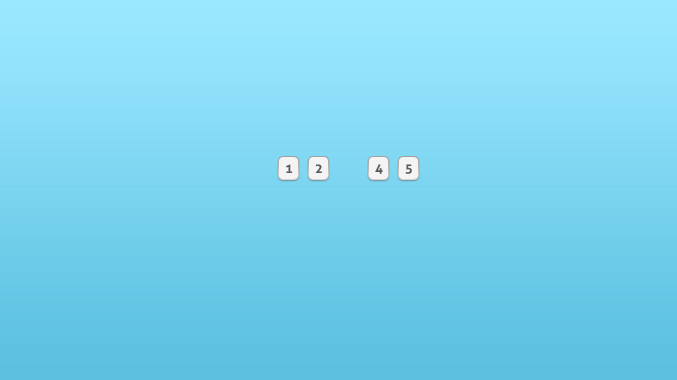
07. Now lets start with the active button. Again, create a small square, preferrably the same size as the other buttons.
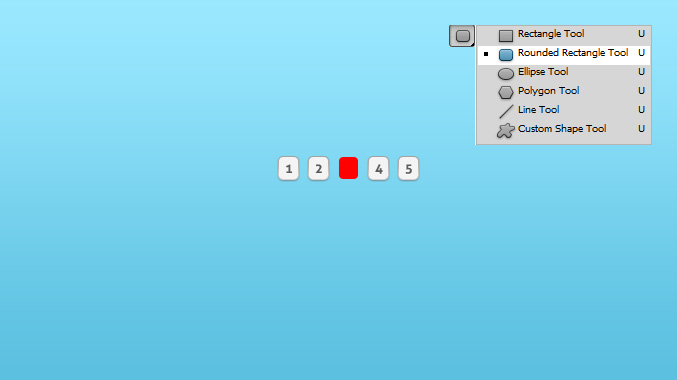
08. Double click on your newly made shape and choose Gradient Overlay. There set the Gradient color, angle and scale.
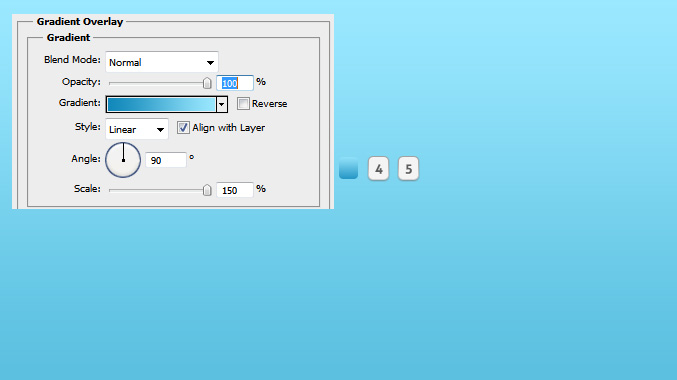
09. Then go to Stroke, set it to small 1, fill type to gradient, angle to 90 and choose a darker color than the button color is.
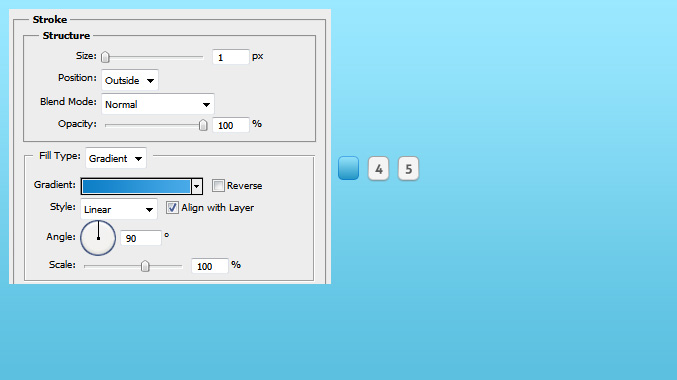
10. Next go to Inner Shadow, set the blend mode to Normal, angle to 90, distance to 1, choke to 0 and size also to 0.
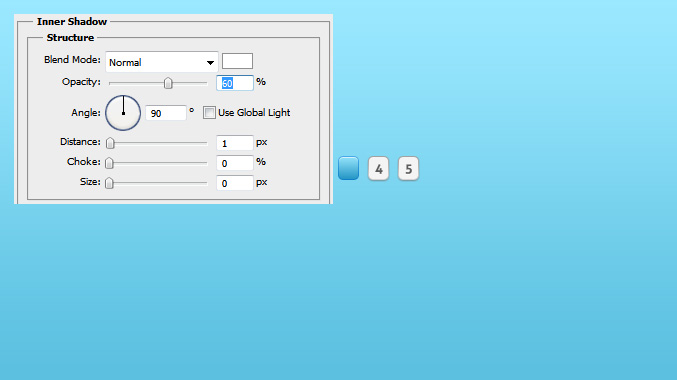
11. Then go to Drop Shadow and add a small shadow by setting the blend mode to Normal, distance to 2, size to 2, angle to 90 and lower the opacity. Press OK.
12. Now take the Type tool and type in the missing page number. This time with another color so it would stand out from the inactive pages. Then double click on the text layer and in the popup set a small drop shadow for the page number. Press OK.
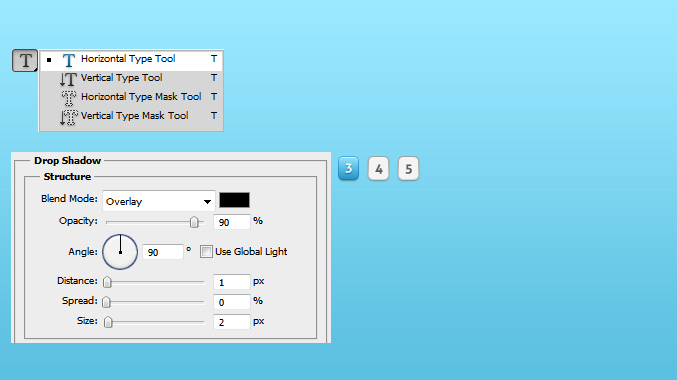
13. Time to make Previous and Next buttons. Again take the Rounded Rectangle Tool and drag a longer shape.
14. Now repeat the steps from the blue button to add the same effects for your Previous button. To save time, just right click on the blue page button and choose Copy Layer style and then right click on your Previous button layer and choose Paste Layer style. Now add the text and the same shadow as 3 has and for the finishing toutch, create a small arrow with the Custom Shape tool and add the same shadow under it.
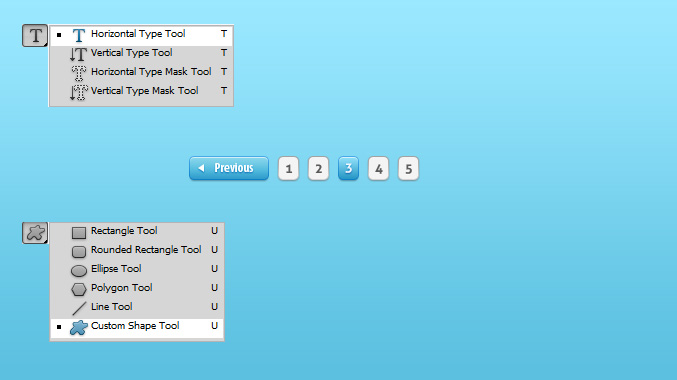
15. Repeat the steps with the Next button and your navigation layout is done!
