Add a Golden Text Style in Photoshop
This tutorial will show you how to create a golden text style in Photoshop.
01. Create a new document. Double click on the background layer to make it into a regular layer. Double click again to enter layer styles window. Go to Inner Shadow and add a large 250 size black shadow. Press OK.

02. If you wish, you can also add a pattern by first creating a new layer (Layer – New – Layer), then selecting Paint Bucket tool, changing it to pattern mode and filling your new layer with pattern. Afterwards is also good idea to set the layer style to Color Dodge or something similar, so the red would pass through your pattern.

03. Then take the Type tool and enter your text. Also choose your font carefully so it’d give the effect you wish for.

04. Double click on your text layer and go to Gradient Overlay. There set the gradient to different shades of golden colors.

05. Then go to Drop shadow and add a 22% opacity shadow around the text. Next, move to Inner Glow and add a light glow on your text.

06. Then move on to Bevel and Emboss and set the values shown below.

07. Then go to Outer glow and add a darker glow around the text area.

08. Lastly, go to Satin and add more structure to your text by setting the color to white, blend mode to color dodge, opacity to 30, angle to 90 and distance a small 6. Now you can finally press OK.

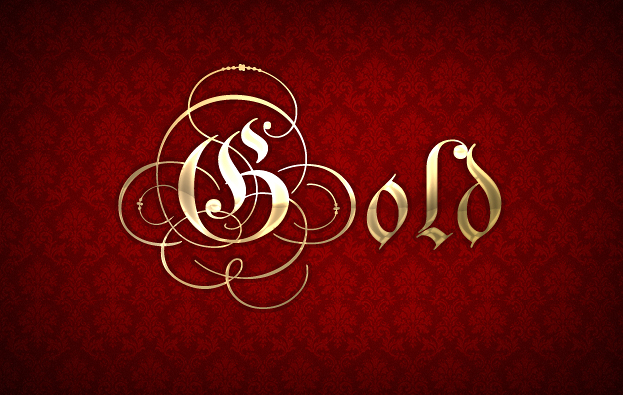
And your golden text effect is ready to use!
