High Resolution Logo in Photoshop CS5
1. Let’s start with a 300 dpi document:

2. Set the background color to #171717:

3. Press G on the keyboard to activate the Paint Bucket Tool and click the canvas to fill with our new color:

4. Double click the Background Layer to make it a Layer:

5. From the Toolbar select Filter > Noise > Add Noise. Use these Noise Settings:

6. Create a new Layer, Set the Foreground color to White and choose a nice soft Brush. Press B on the keyboard to activate the Brush and create a Light Source at the top of the canvas:

7. Set the Layer to Overlay and rename the layer to “Light Source” to stay organized:

8. From the Toolbar select the Custom Shape Tool:

9. Then select any symbol related to your idea, in this Tutorial I will select the Dog Paw:

10. Change the Foreground color to #7ebd43 for the shape, then Hold down Shift on the keyboard and drag the shape on the canvas, make a size that fits the Light Source:

11. Set a Drop Shadow with these settings:

12. Right click the layer and set these Color Gradient Settings:


13. Press D on the keyboard to reset the colors. Then create a new Layer, from the toolbar select Filter > Render > Clouds.
14. Set the layer to Overlay and merge the layer with the Shape Layer by ALT clicking between the two layers:


15. Right click the Shape Layer and choose Rasterize Layer:

16. With the Shape Layer selected go to Filter > Noise > Add Noise and use these settings:

17. Use your Text Tool and create some text with this color:

18. Right click the Shape Layer and choose Copy Layer Style:

19. Right click the Text Layer and Paste Layer Style:

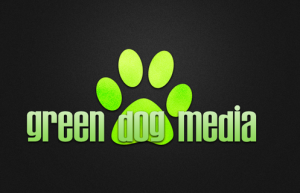
20. Create a new Layer, and repeat Step 13 in this Tutorial. Then set this Layer to Color. Place the Text where it fits best and this is the Final Result: