How to Create a Retro Style Photographer’s Portfolio Website Design in Photoshop
This tutorial will show you how to create a photographer’s portfolio design in Photoshop.
01. First open a new document.

02. Now take the Paint Bucket Tool, set it from the upper menu to Pattern and fill the document with the pattern.

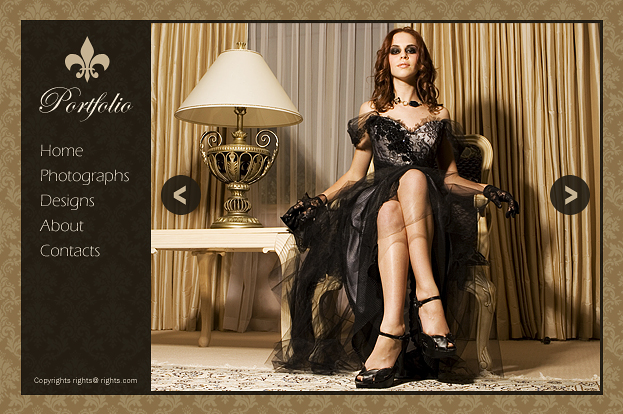
03. Now take the Rectangle tool and drag a black shape in the middle of the background. Then go to Layers window and lower the opacity to about 75%.

04. Choose your picture and set it on the right side of the background. If necessary, mark the unwanted edges with a Marquee tool and hit the delete button.

05. Create a new layer (Layer – New – Layer from the menu), pick the Elliptical Marquee Tool and draw a circle. Fill it with black color and lower the opacity to about 90%.

06. Take the Type tool and type in a single arrow.

07. Duplicate your layers (right click on the layer and choose duplicate layer) and flip them horistontally (Edit – Transform – Flip Horisontally). Then move the new circle and arrow and move then on the other side.

08. Now add your logo with either shape tool or just some initials with the text tool.

09. Take the text tool and insert your site’s name and below it the navigation pages.

And your portfolio site is ready!